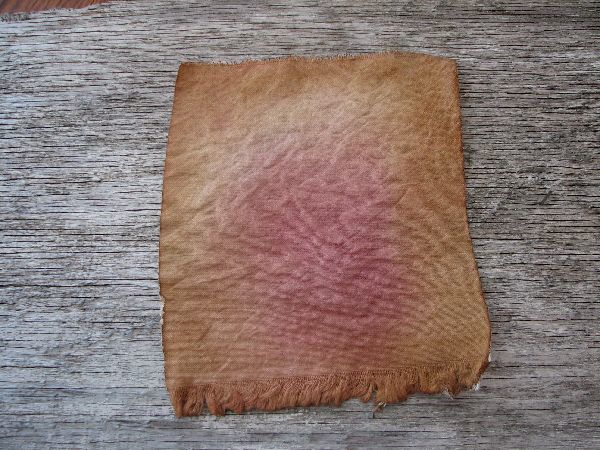
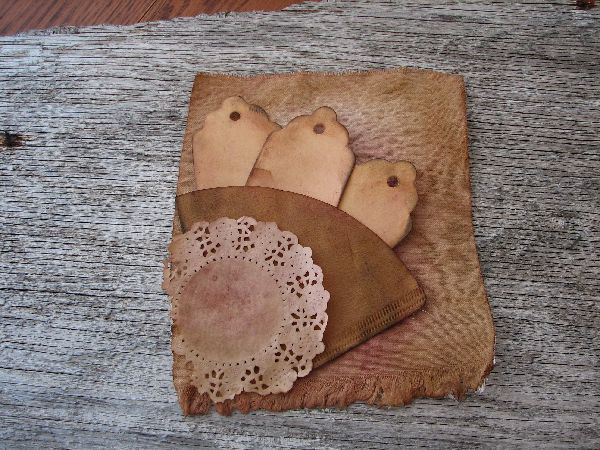
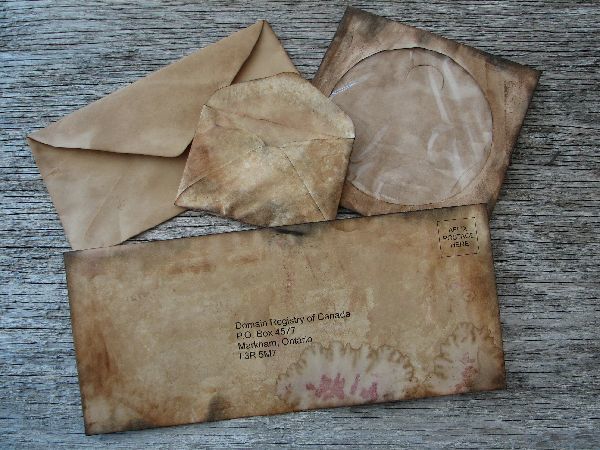
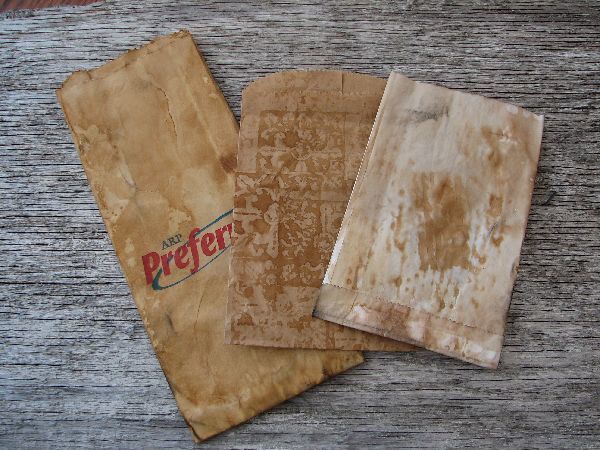
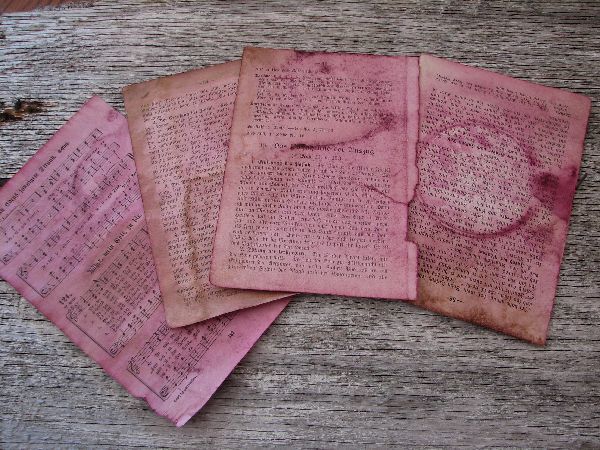
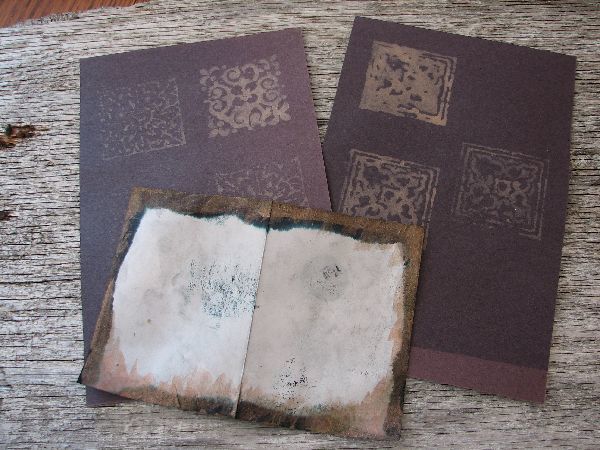
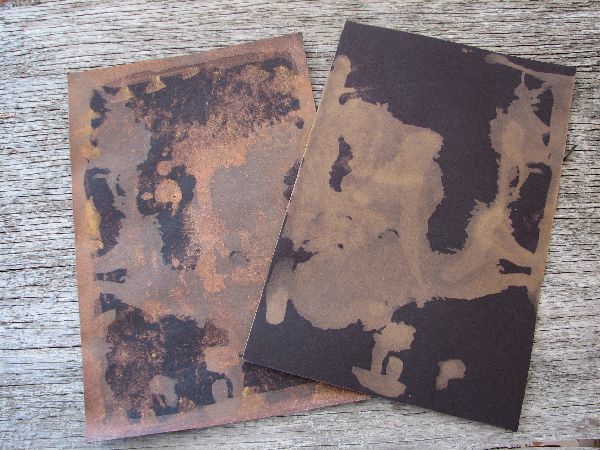
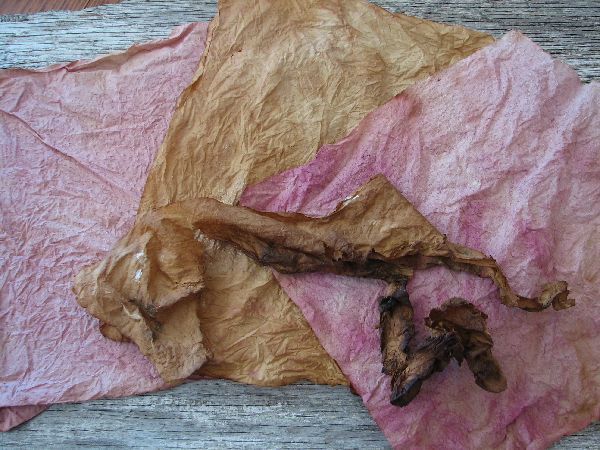
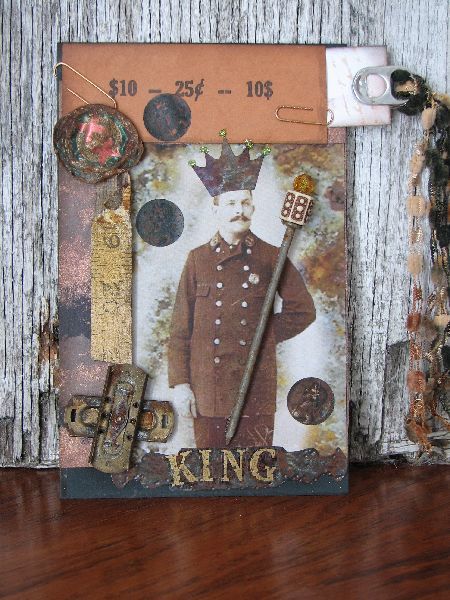
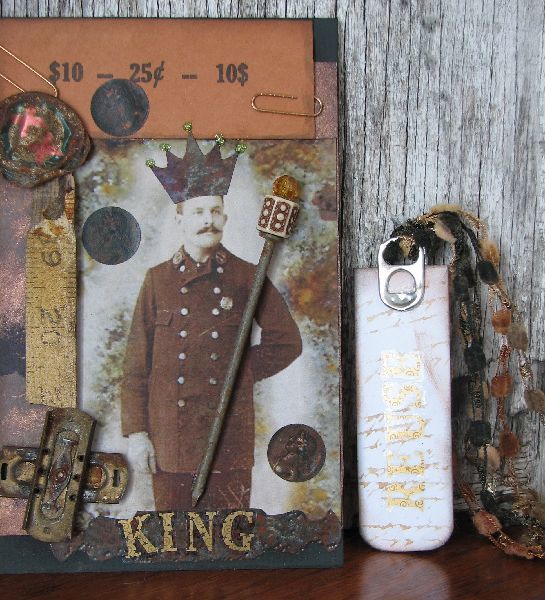
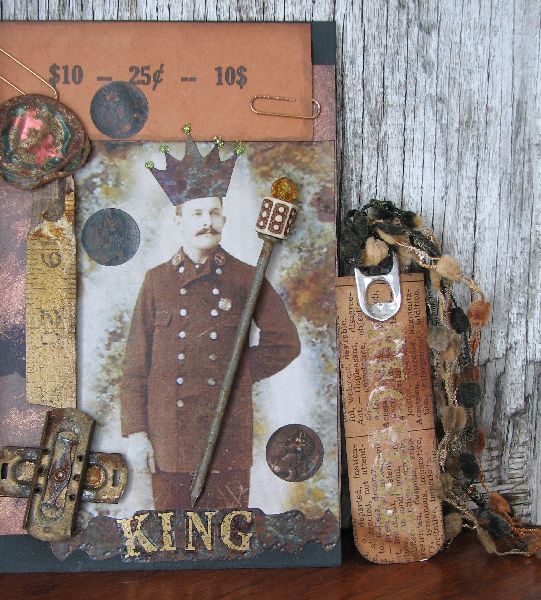
This is going to be a lengthy tutorial because I took many pictures while I was doing this and narrowed it down to 75 pictures.
I used a variety of household products to get the results for my pages as well as many familiar products and basic tools.
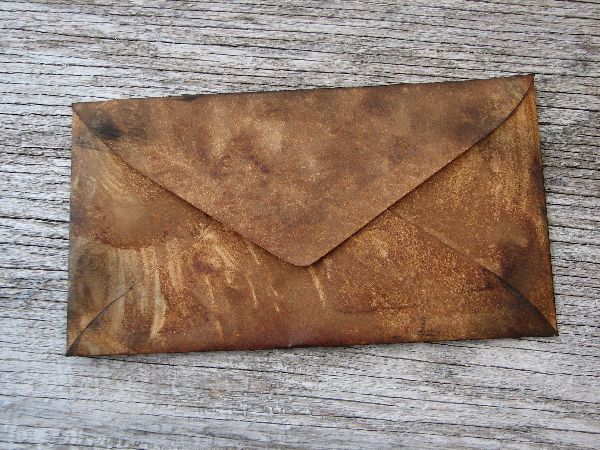
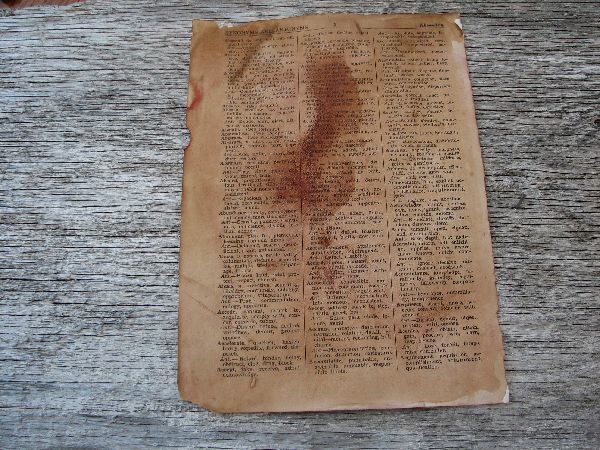
The assortment of papers I used include: envelopes, text pages,
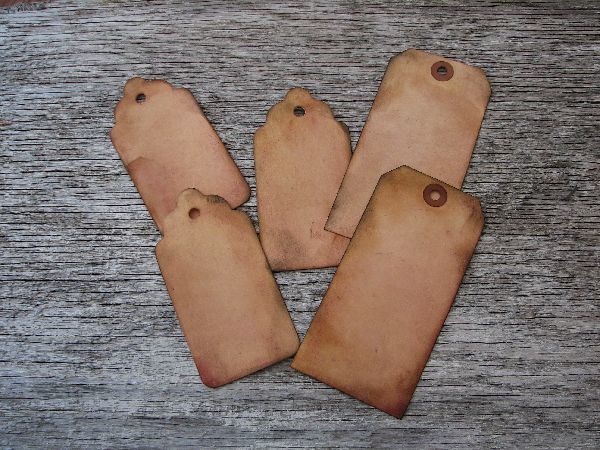
blank paper and card stock, shipping tags, paper towels, napkins,
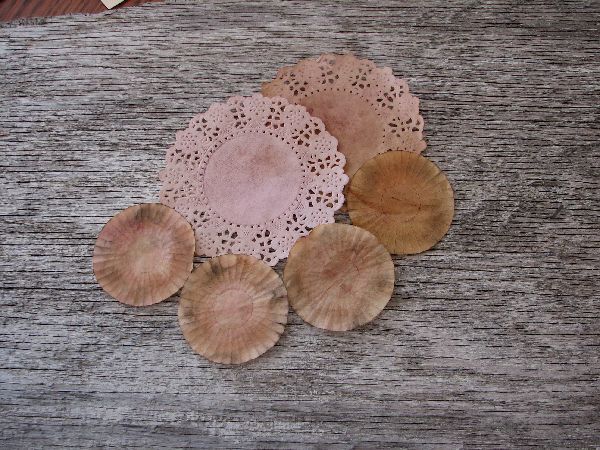
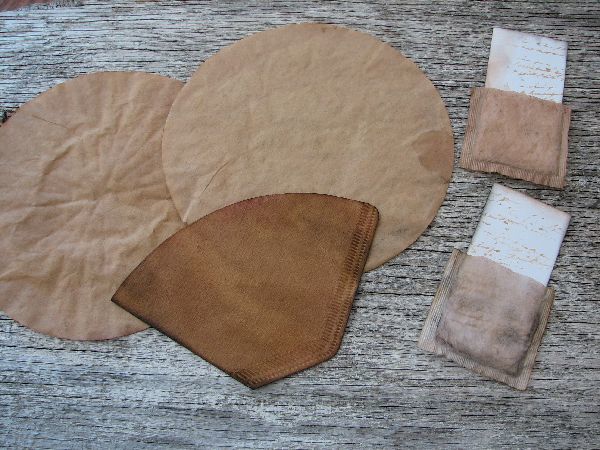
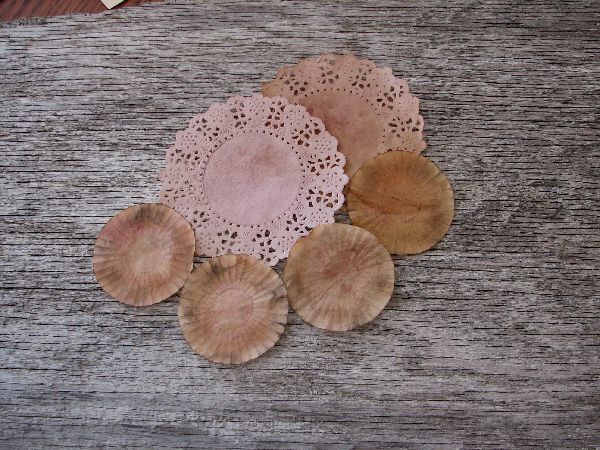
filters, tissue paper, paper bags, fabric, doilies, cupcake holders,
construction paper however you are limited only to your imagination and I
will let you know of others as I think of them along the way.
Some basic supplies required
but easily improvised are: a couple of flat baking sheets, roll of paper
towels, paint brushes, sponges, containers for mixing paints, spray
bottles, and other items you will see as the tutorial progresses.
Items used to create effects:
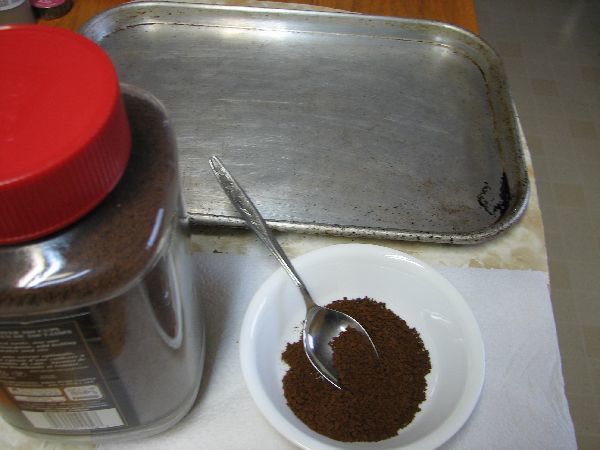
Instant Coffee crystals
tea bags (used)
vanilla extract
cinnamon
acrylic paint (or water base paints)
bleach
olive oil (essential oils for fragrance)
powder fabric dye
ink
water
Slight warning/caution: You may have an incredible desire to
drink coffee and eat vanilla and cinnamon cookies so I suggest you have
something to suffice your cravings while you work.
something to suffice your cravings while you work.
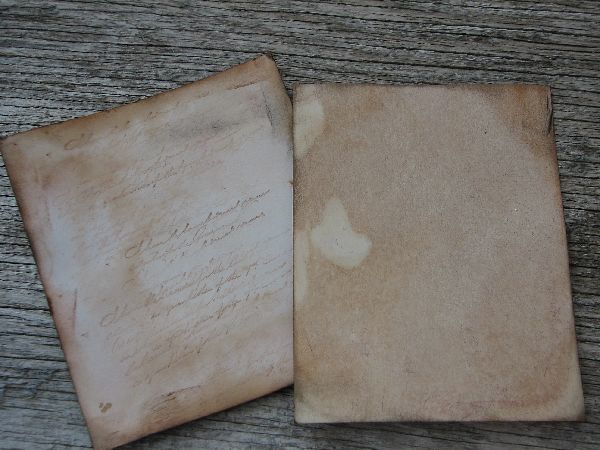
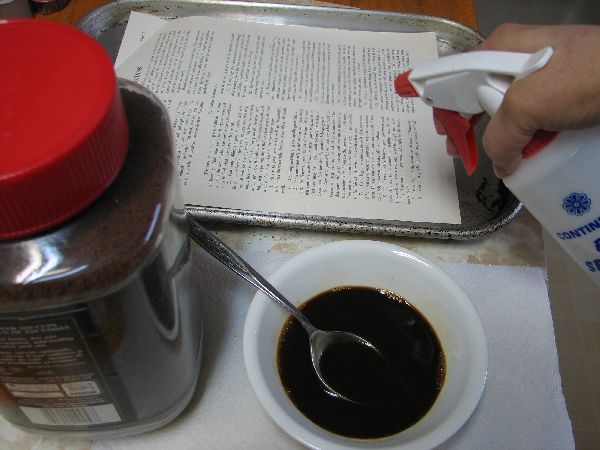
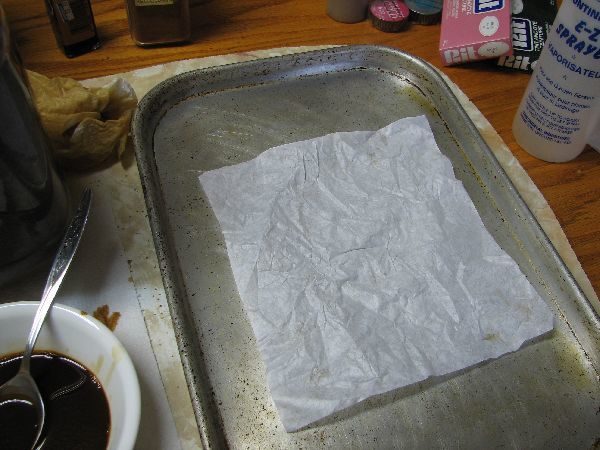
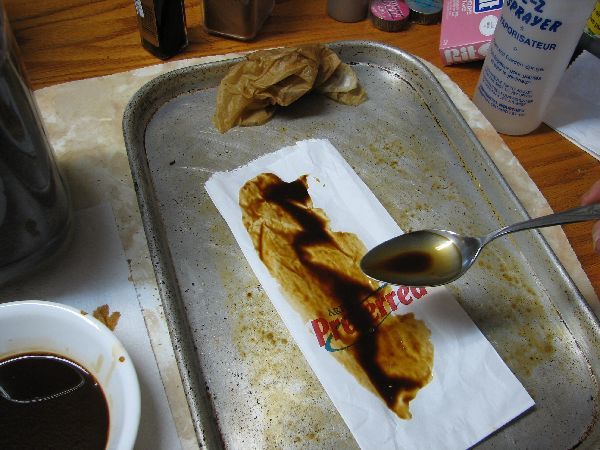
Then adding a piece of paper to the baking sheet, I lightly spritzed it with water, enought to dampen the sheet but not immerse it in water.
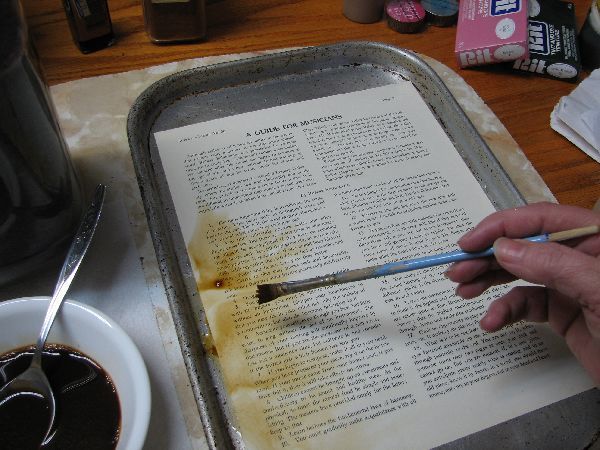
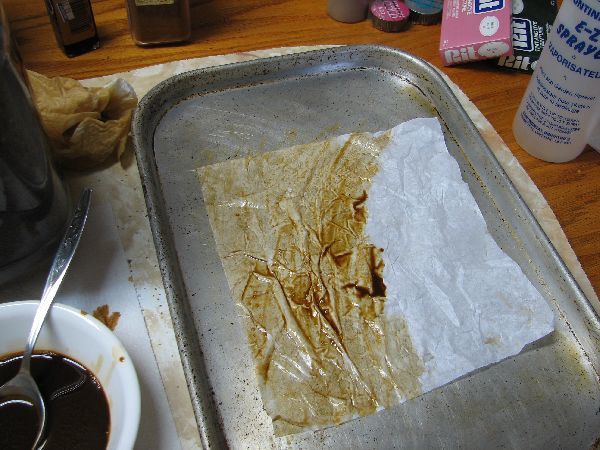
Using a paint brush I applied some of the coffee mixture around the edges of the paper. Don't worry about being perfect, we are distressing!
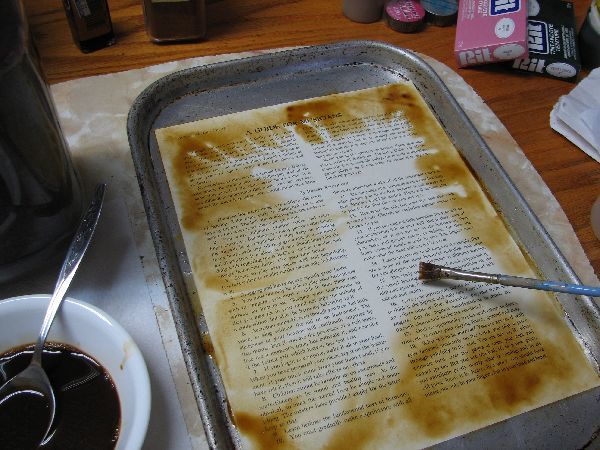
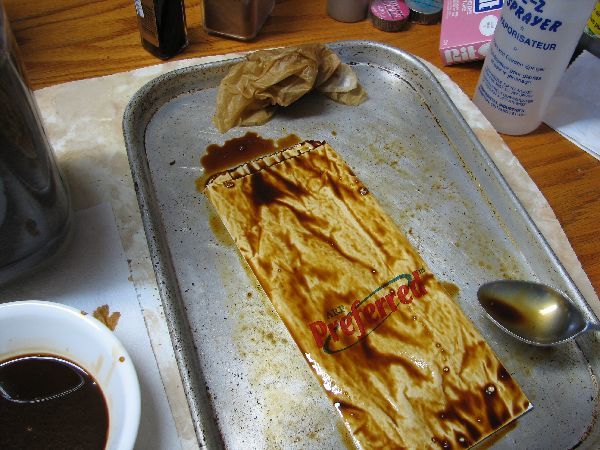
The edges will start to bleed into the middle of the page creating a nice staining effect.
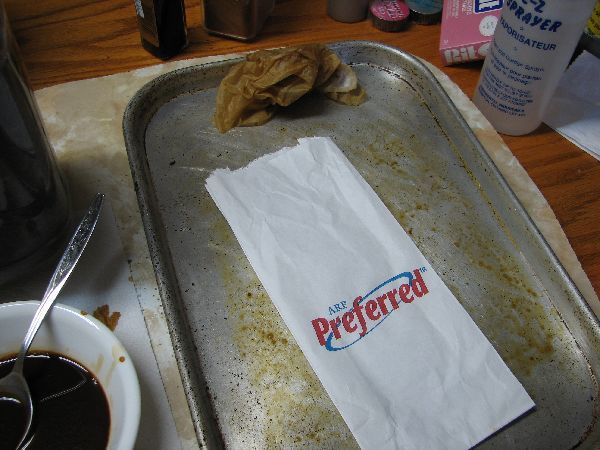
I then used a paper bag (not shown) as a blotter paper to hold the wet
paper. You can use wax paper, paper towels newspaper etc to hold and
blot the wet pieces. Make sure you don't let it dry against another
paper completely, if this happens just wet both papers under the water
tap and gently pull apart.
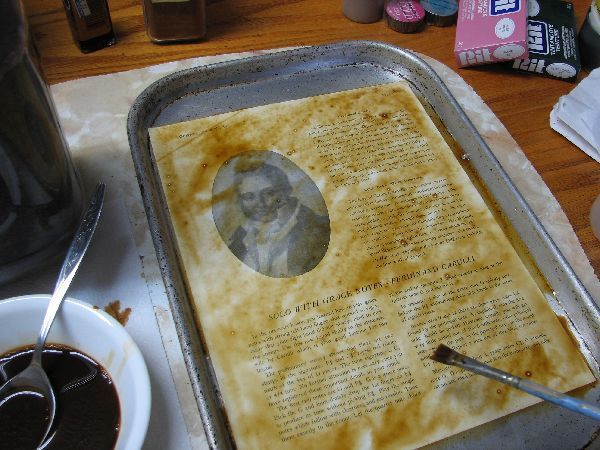
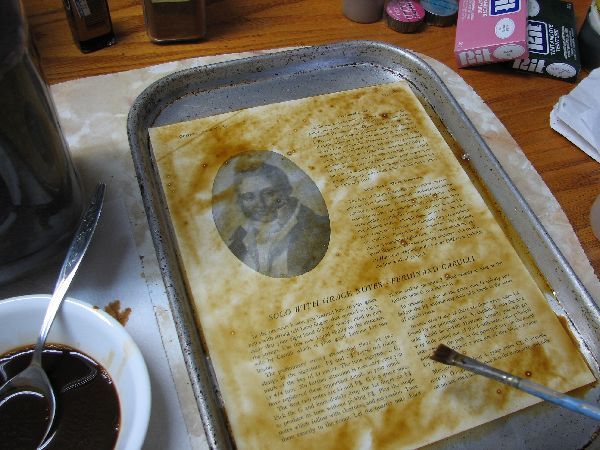
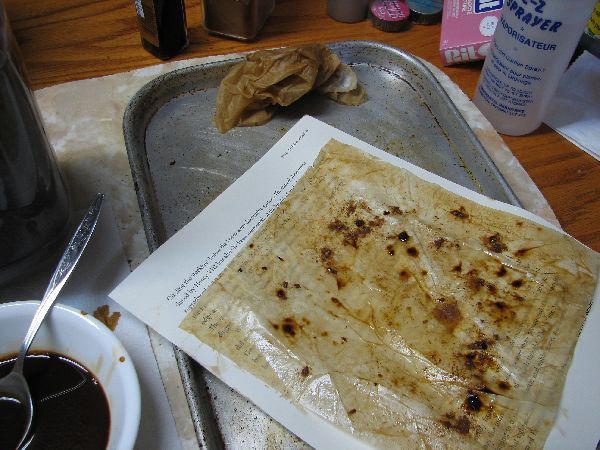
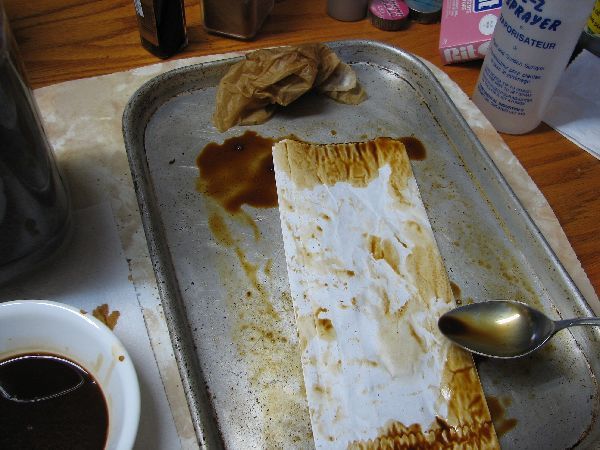
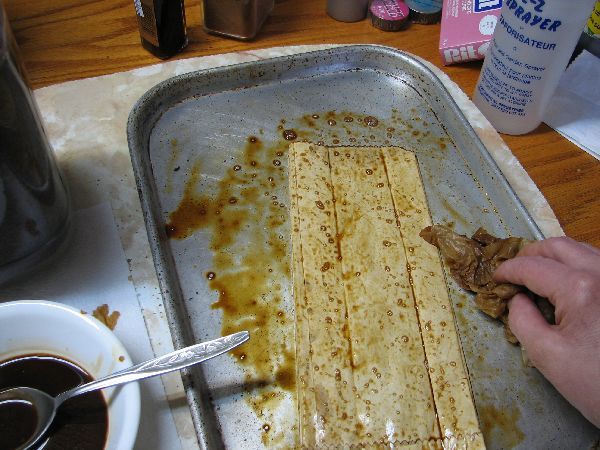
The next page I covered completely with the coffee stain even across the page image.
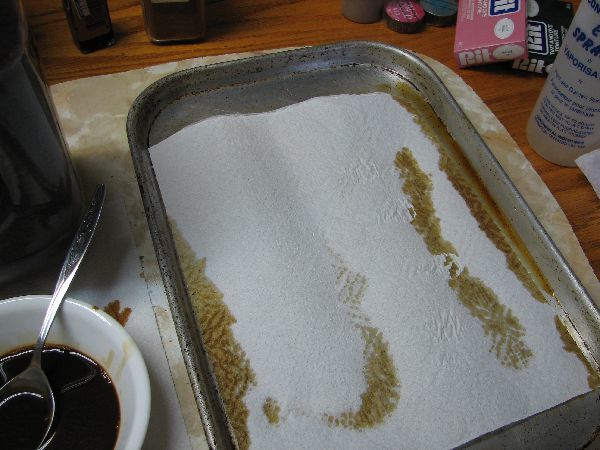
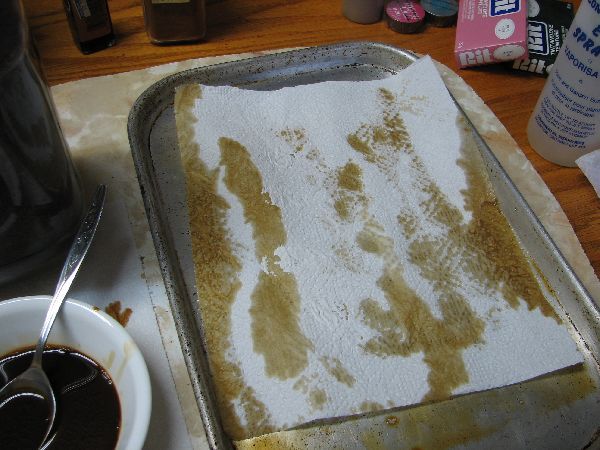
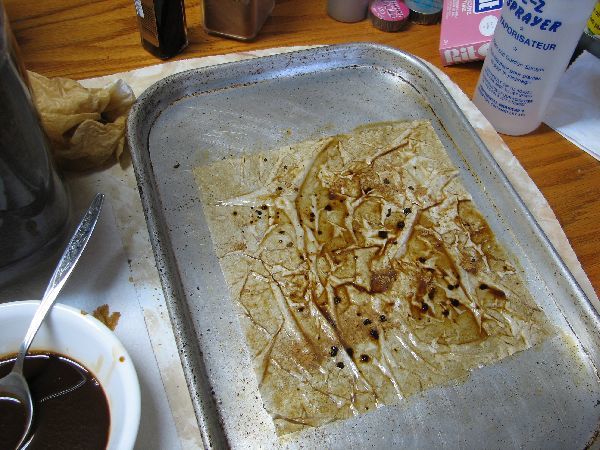
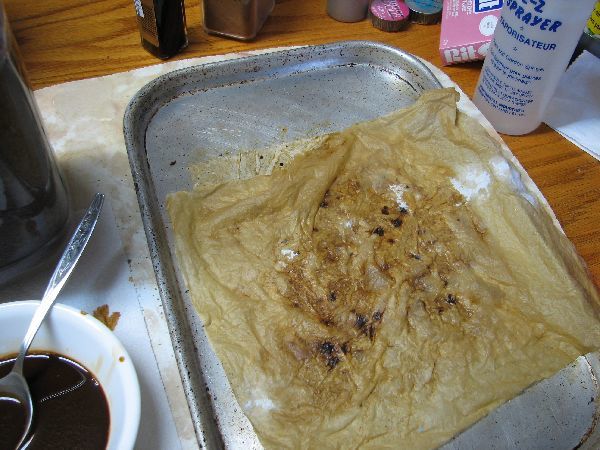
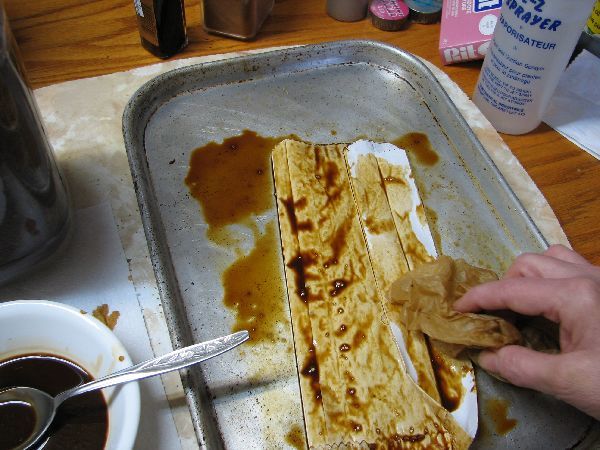
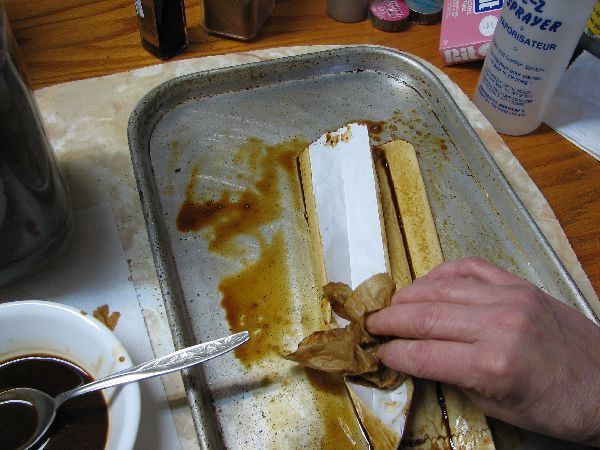
After I removed the second sheet, I had an over flow of liquid still in the baking sheet so I used a paper towel to absorb some of the extra.
Normally I like to use a 2 ply heavy paper towel for this purpose, but I just had thin towels on hand today. You are going to love this paper for your art creations, Easy to work with and the colors take so well to the paper towels. Be sure to lay it out or hang it up reasonably flat when it is fully absorbed, move it around a bit before it completely dries so it doesn't stick to another paper.
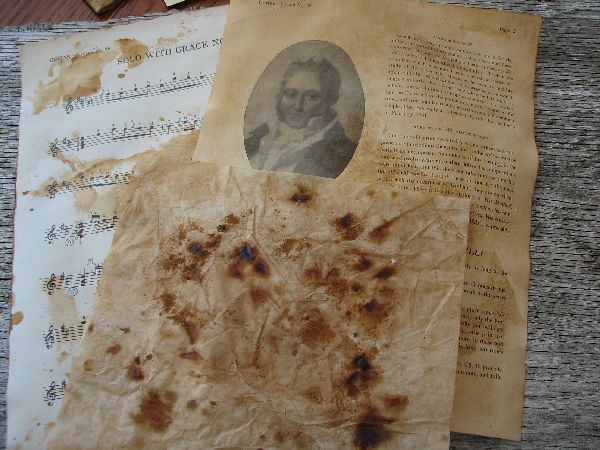
This next piece of paper is wrinkled tissue paper, in fact it's the little paper that comes wrapped around mandarin oranges in the box. (yes, I save and use it all) Again spritzed with a little water to dampen and then brushed on the coffee stain.
Then I added some coffee crystals in spots for more intense stain spots.
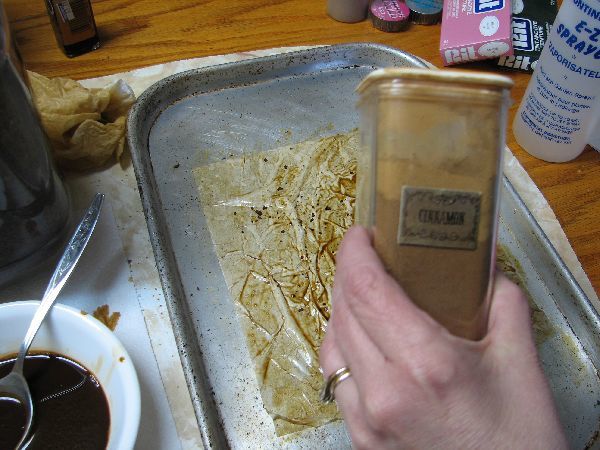
Sprinkled some cinnamon powder
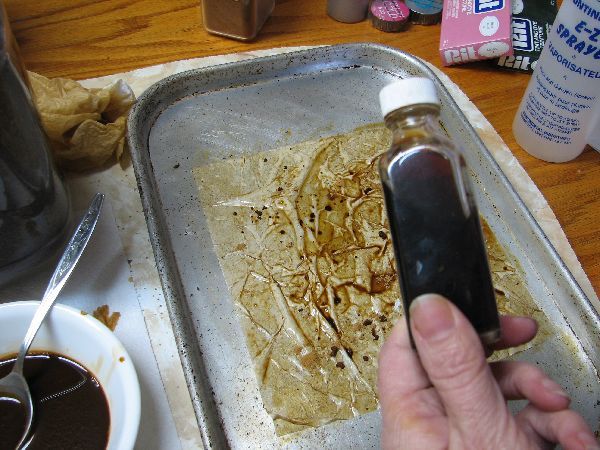
And a little vanilla
Now bake in the oven.......just kidding LOL but now you will definitely
be wanting those cookies! This makes wonderful scented papers, I stain
gift tags at Christmas for a wonderful lasting smell under the tree.
You can use all types of spices and flavor extracts to blend into your papers for a variety of scents.
Be sure to wipe away any granules of cinnamon dust when dry if you are planning to print on these papers through your printer.
I spritzed with more water to help the paper absorb these addons, and
then blotted with paper towel to catch the excess as well as stain more
paper towels. Very nice effect with the darker crystals.
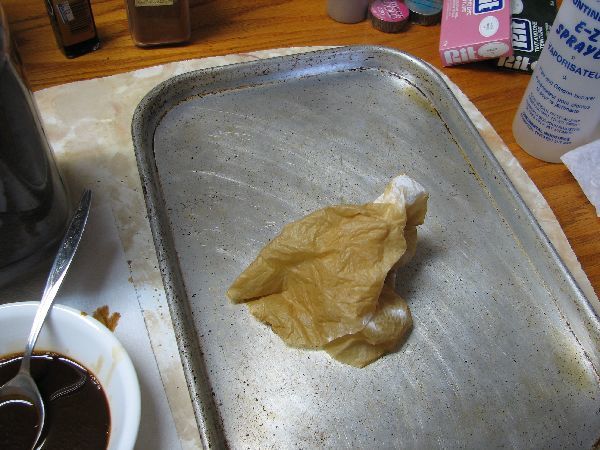
This last piece of paper I used to absorb the rest of the liquid in the
pan. flipping on both sides and not completely covered. I may come back
to this piece with some other methods later.
Note: if you want darker staining, just leave large pools of coffee for
the paper to absorb. The longer you leave it, the darker it will be, as
well as using more crystals and less water will give a darker finish.
However this will make your paper a little more brittle the less water
you use. Experiment as you go!
This is part 1 of 3 staining and distressing.
Part 1
Part 2
Part 3
You may feel free to print this tutorial for your own personal use,
however this tutorial and the accompanying photography is copyright Kim
Newberg 2008 and may not be reproduced in part or whole for publishing,
teaching or web usage without prior written permission and consent.