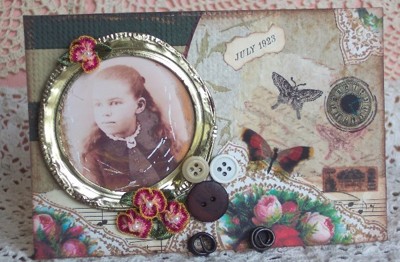
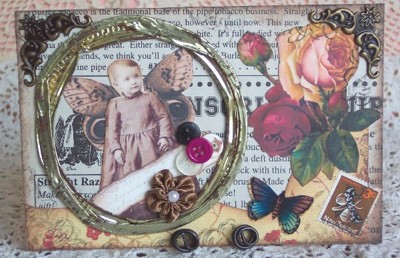
Fabric Trinket Boxes from recycled materials
I love to recycle everything and anything,sometimes it becomes a challenge as to what I can do with items that would normally be discarded.
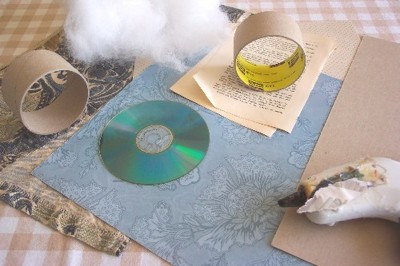
These little boxes were no exception, made from an empty tape gun core, a cd, some card board, scrap fabric and some vintage papers. Below is a step by step photo tutorial of how I made these boxes. Additional Materials used are posted throughout the photos.
Basic materials needed:
- 1 disgarded cd
- 1 empty roll from a tape gun a couple of fabric scraps (mine came from an old skirt I was going to send to the thrift shop)
- some fiber fill stuffing or any type of padding
- cardboard: medium weight chipboard or a cereal box will do!
- Paper: I used 2 co-ordinating design papers, some vintage book pages,and some mulberry tissue
- Embellishments and trims as desired.
- A hot glue gun, a paper glue stick, scissors, pen, paperclip, and probably something else I forgot but you will notice through the rest of the photos.
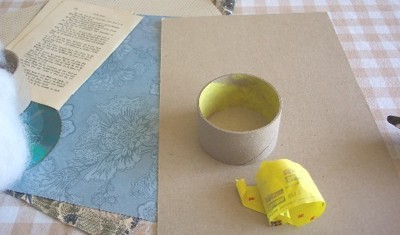
Starting with the tape roll, tear off any outside papers with printing or ugly colors. both inside and out. If you can't remove these papers, you may have to cover twice so that it wont show through.
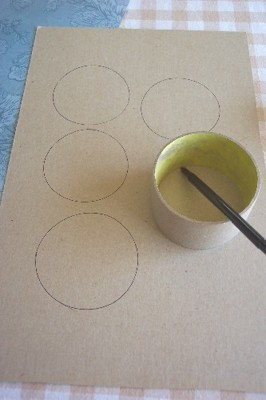
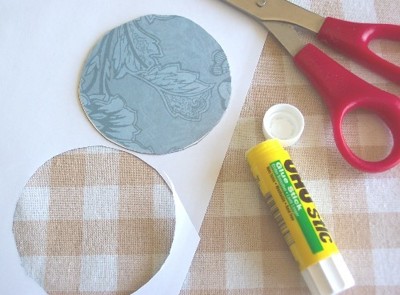
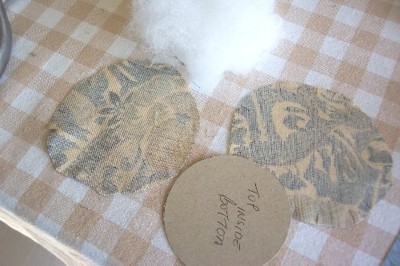
Trace out card board circles
From Chipboard or cereal box, trace out 3 circles using the inside diameter and 1 circle using the outside diameter of the tape roll. Total of 4 circles.
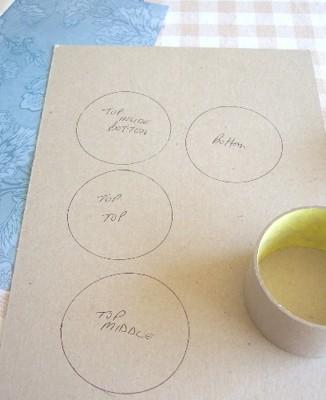
Mark the names on each circle.
- The large circle is called Top Middle
- 3 smaller circles are: Top Top, Top Inside Bottom, and Bottom
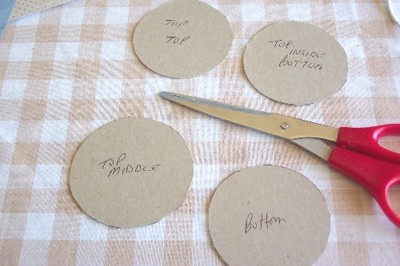
When cutting out the circles, cut the 3 small circles just slightly INSIDE the lines (smaller than actual) Cut the larger circle just slightly OUTSIDE the lines (larger than actual)
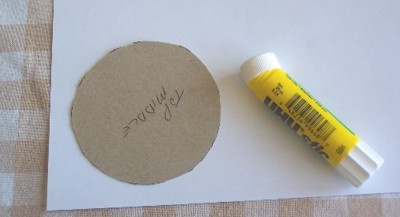
Top Middle Circle: Using a glue stick, glue your design papers to one side of the top middle (large circle), Trim to edges
Top Middle (large circle) side 2 Repeat and glue paper to the other side, trim to edges.
This paper can be a different color depending on your preferences.
Note: For this circle, paper choice is not really important as most will be covered when completed, this just gives a sturdier finish and the little that will show when completed looks nice.
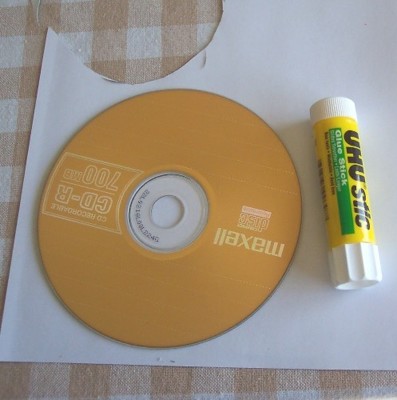
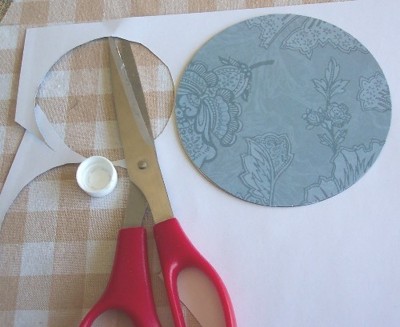
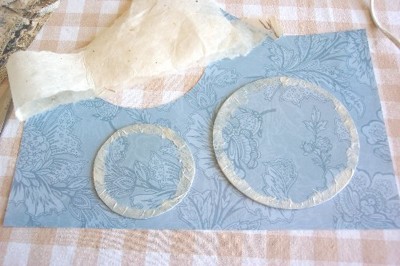
Cover CD with design papers Using glue stick ,cover CD with design papers on both sides, trim to edges. CD flip and repeat for side 2
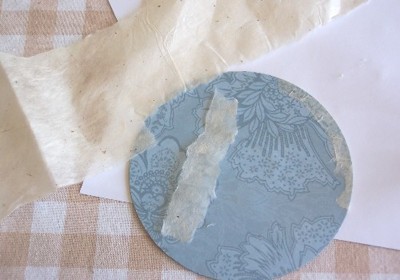
Finish edges: To finish the edges on the CD, I used some mulberry tissue.
Torn (not cut) into small strips. I glued around the edges catching both sides of the cd. This covers the rough edges and gives an extra hold to secure all the papers.
Note, I used mulberry tissue, but any type of tissue or light paper will work fine.
Repeat tissue edge finish for Top Middle:
Both the top middle and the CD were edge finished with the same mulberry tissue.
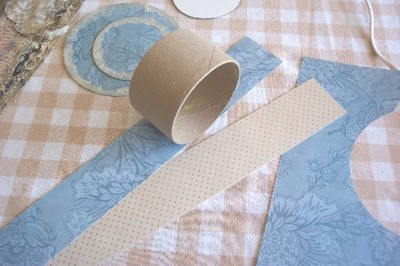
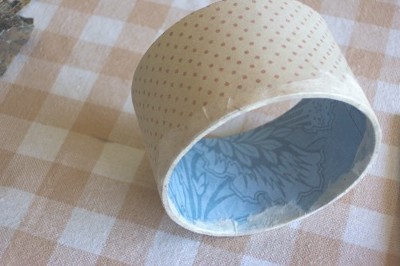
Covering the tape roll: I cut 2 coordinating strips the width of the roll and long enough to cover all around. This is just easier to work with one continuous piece, but not necessary if you only have small paper pieces. Just cut enough as required.
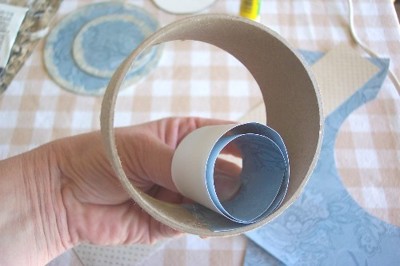
Inside tape roll:I started with the inside first. Rolling up the paper and started gluing a little bit at a time. If the paper exceeds the edges a little, don't worry you can trim later. Or if you are a little short along the edges, no worries that will be fixed later.
Tape roll outside: Glue the paper to the outside.
Trim off any paper sticking over the edges.
Cover the edges with the same mulberry tissue strips as used on the CD
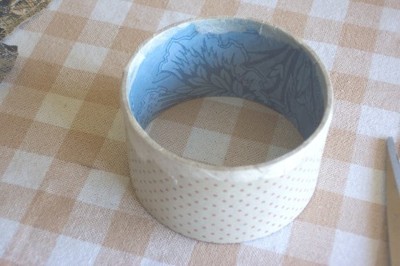
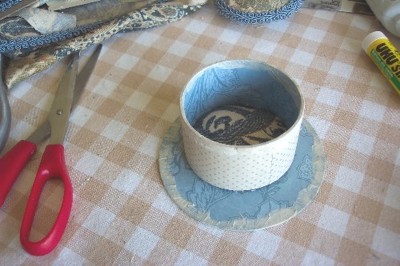
View of Tape roll covered both sides
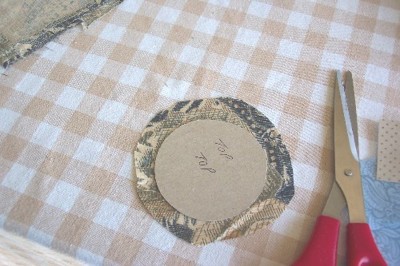
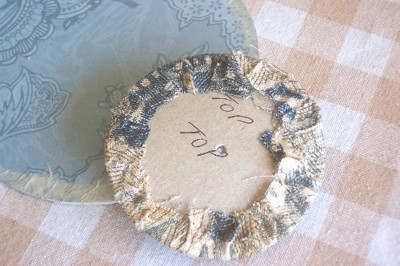
Top Top card board Circle: Using the top top cardboard circle as a guide, cut out a piece of fabric with approx a .5" or slightly larger overlap
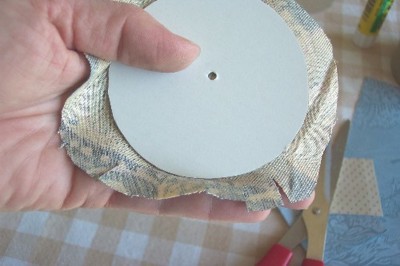
Top Top card board Circle: Punch, or puncture a small hole in the centre of the cardboard.
Note: this is the only circle you make this hole in.
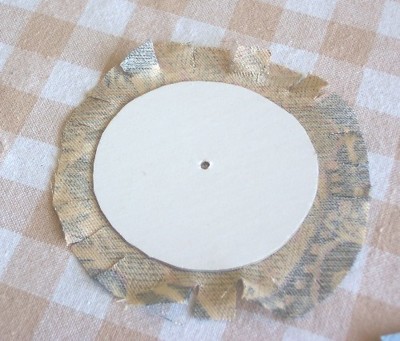
Clip Cut Fabric: Holding the cardboard as a guide, clip cut fabric all around the circle, approx .5" all around. Cut right up to the cardboard.
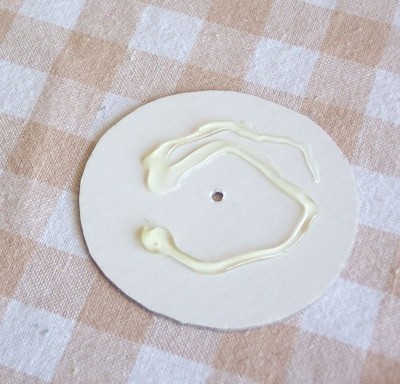
Hot Glue on Top Top circle: Drizzle a little hot glue to the centre of cardboard.
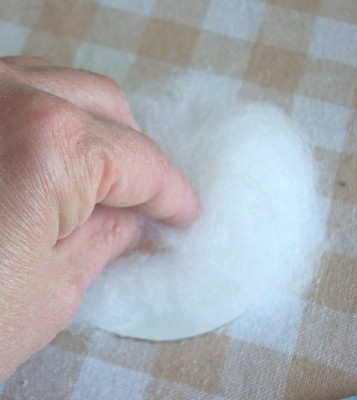
Fiber Fill stuffing: Use a small handful of fiber fill stuffing, press into the cardboard. Don't expect the fibre to be firmly glued, as long as it is basically held in place, no worries.
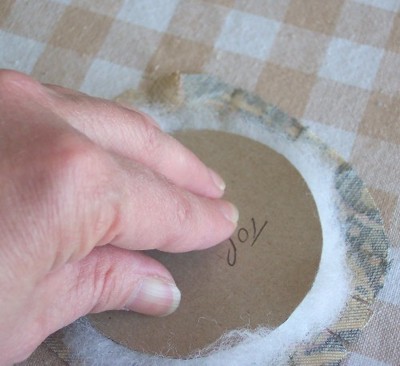
Gluing fabric to Top Top: Flip the circle over so that the fiber side is against the wrong side of the fabric circle. Do not use any glue to hold these pieces in place.
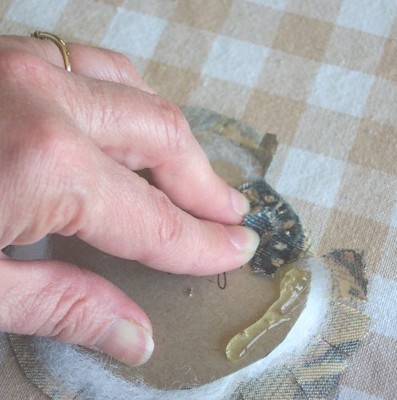
Hold firmly in place with your other hand, and start to tuck under, any fiber that is sticking out of the circle. Gluing fabric to Top Top-2: Using hot glue, carefully drizzle small areas, and glue down the fabric clips to the cardboard. You may want to catch a little on either side of the circle to hold in place, and then glue all the rest down. This will help to keep the fabric from shifting.
Gluing fabric to Top Top-3: Once completely glued around, you will have this ugly looking back, and a pillowy fabric top.
You can bend and ease it a little bit to get it to lie flat on the bottom, as well as adjust the fibre on the front so it looks nicely rounded. Don't worry if there are bits of fabric sticking out, or if the circle is not perfect, all the rough edges will be covered.
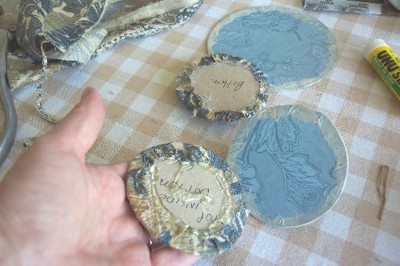
Note: Now you know why it is best to mark both sides of the cardboard with the names. :)
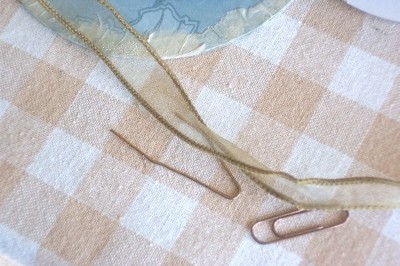
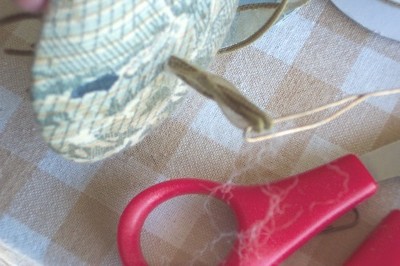
Paper clip and Ribbon for fingerpull: The ribbon is for making a finger pull top on the lid of your box. Take a paper clip, and open up to be a piece of wire like a hairpin, if you have a hair pin, even better.
I used a 6" length of .5" wide wired ribbon, but it could be cord, wool, or any type of trim you desire.
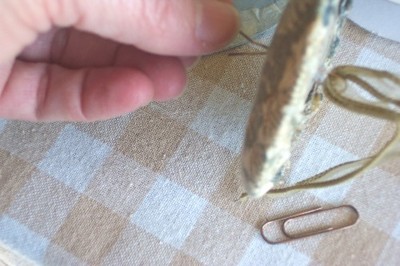
Ribbon through hole: Folding the ribbon in half, and sliding the wire through the top, I created almost a needle and thread effect.
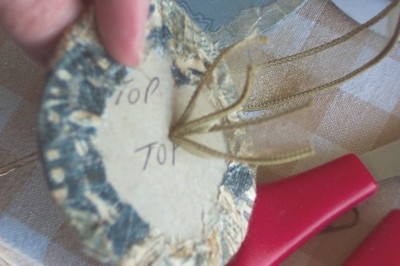
Using the hole in the cardboard, you must gently push the 2 ends of the wire through the hole and through the fabric. (from the back to the front) You may want to slightly puncture the fabric first, but don't make a very big hole, just enough to get the wire ends through.
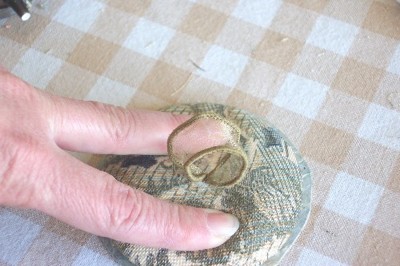
Pull the ribbon through, enough to make the finger loop as you like and remove the wire.
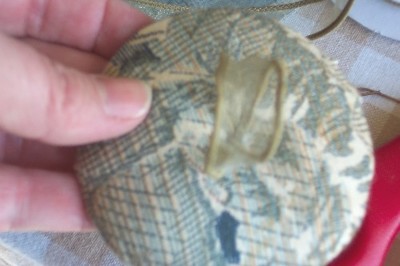
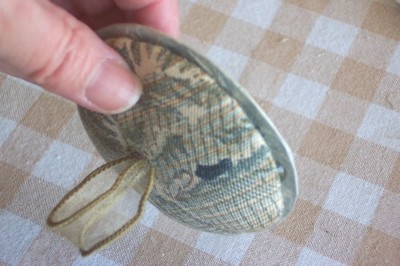
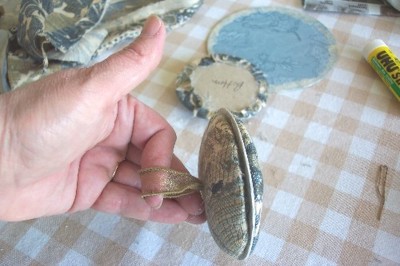
Back side of top top: The ribbon ends should be clipped shorter, and glued down to hold the finger pull in place. Finger pull-2: You will probably have a little bit of stuffing come through the top with the ribbon, just gently cut away the little bits that stick out.
Finger pull-3: Gently fluff up the squashed ribbon. if the ribbon has become very wrinkled after pulling through the hole, dampen the ribbon slightly with water and stuff some paper into the loop to reshape it.
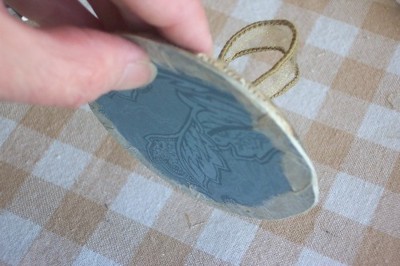
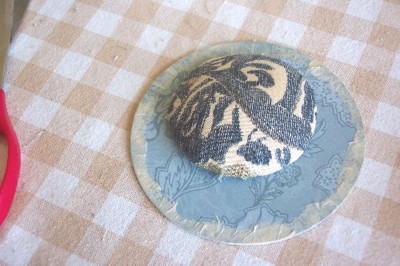
Glue Top Top to Top Middle: Using the hot glue gun, drizzle glue to the wrong side of Top Top not quite at the edges, flip over, center, and apply pressure to hold down to the Top Middle cardboard. You should have the Top Middle showing through slightly, and you may have a little bit of glue oozing out from between the 2 layers. This will be covered with your trim or braid.
Top Top glued to Top Middle-2
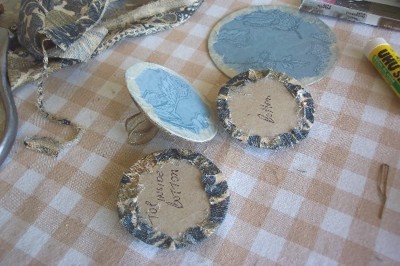
Repeat the fabric steps for other 2 circles: Using the other 2 cardboard circles, you will repeat the fiber and fabric steps, to create 2 more round pillows. These do not require a hole or finger pull. Don't forget to clip the fabric before trying to glue down.
Covered pieces
Top Inside Bottom Glued to Top Middle: Drizzle hot glue onto the Top Inside Bottom and centre onto the Top Middle. apply pressure to hold in place.
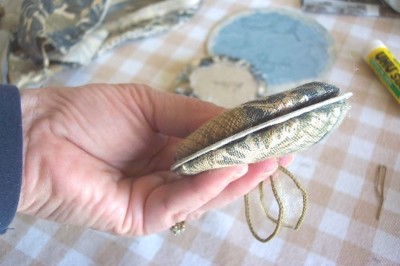
Lid with all pieces glued: You now have what looks like a sandwich or cream filled cookie!!
Lid side view
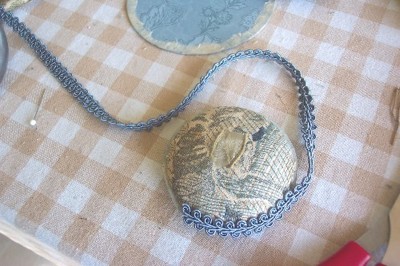
Trim the top with braid:
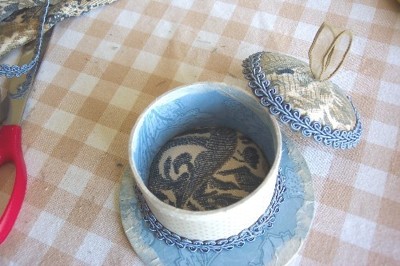
Using any trims or braid of your choice, glue around the entire top. Now you can see, how much of the middle of the lid you really see. (The pillow on the inside of the lid is what holds the lid in place on the tape roll.)
Bottom Circle and CD: Using the last pillow circle (Bottom) hot glue and position as desired onto the cd. I like to glue the base off centre to allow lots of room for embellishments. However it does look nice glued right in the middle too!
Glue down Tape roll: Gently push the tape roll down over the pillowed base. It should be a very snug fit.
Using the hot glue gun, glue around the outside a very small bead of glue. If you can, use the glue gun tip to flat the glue down so that you don't have a hard bead around the edge.
Trim around the base: After the tape roll is glued down, I then glued down the same braided trim. This now reinforces the hold on the base.
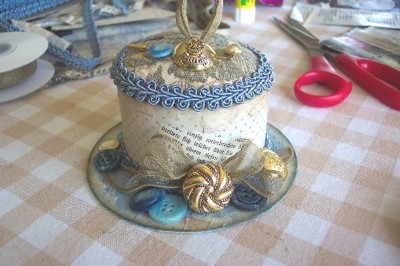
Embellish as desired: I used the same finger pull ribbon to make a bow at the base, and many buttons from my stash. You are limited only to your imagination and stash collection. I also added additional ephemera around the tape roll, this could include images, fringe, anything you desire.
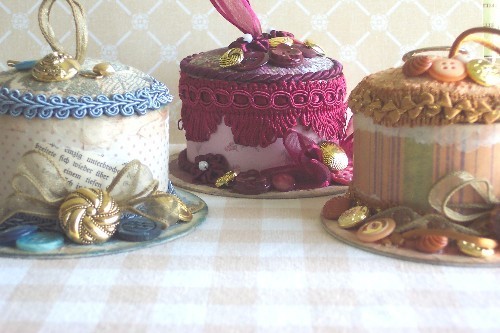
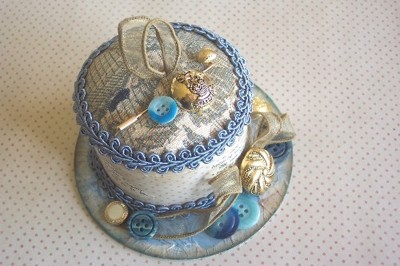
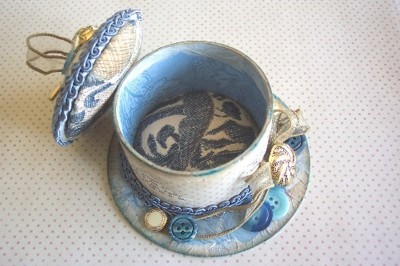
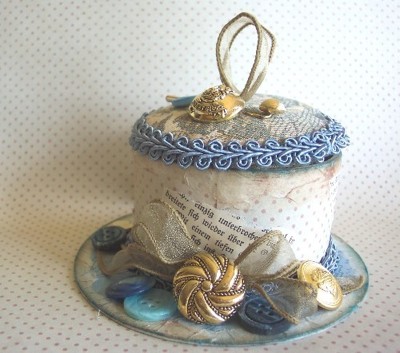
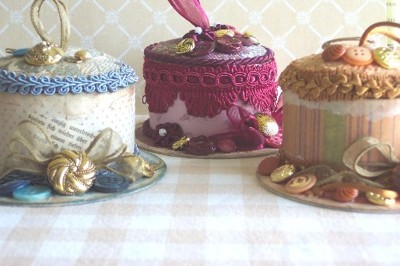
Completed project: Who would know this was made from recycled materials?
This is the ultimate altered art project!
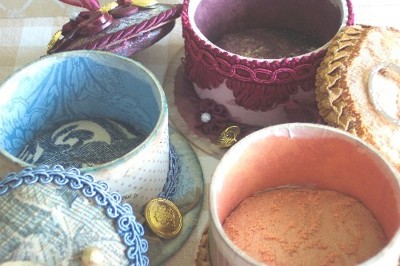
Completed project-2: The inside has a beautiful pillow base to protect your precious keepsakes and jewellery
Finished Project
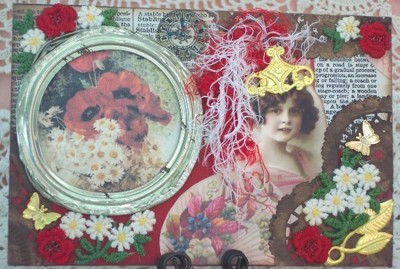
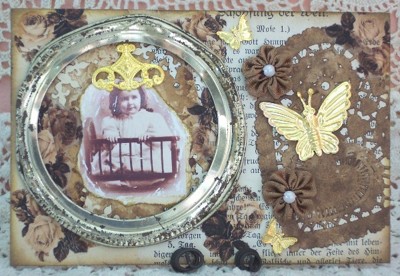
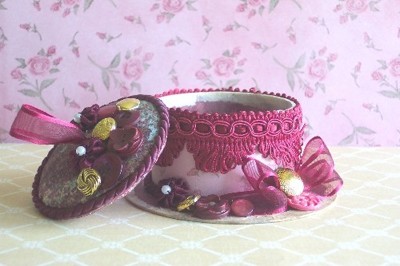
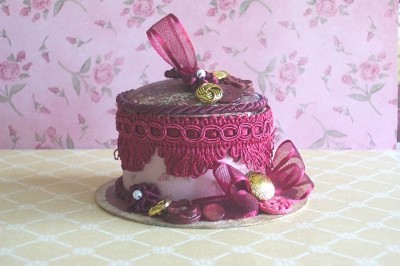
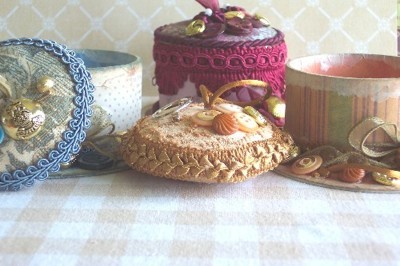
Here are some additional samples:
Happy Creating!

