

Distressed paper using household items Part 2
This 2nd part of the tutorial shows more options of paper staining with coffee as well as working with powder fabric dyes.
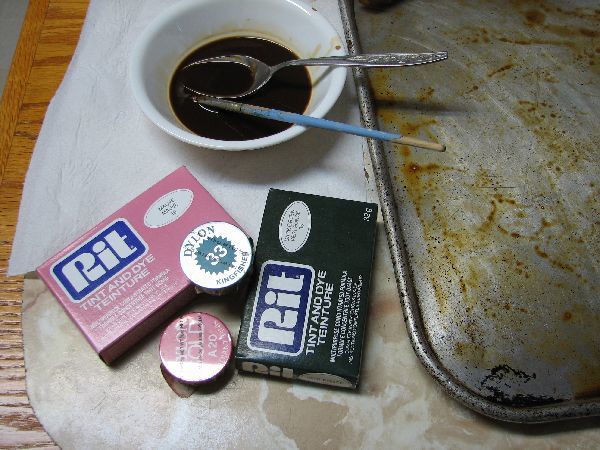
There are a variety of powder fabric dyes on the market, and I am
showing a couple in the pictures below. Using the powder dyes is similar
to the coffee, just add by the teaspoon and mix in some hot water.
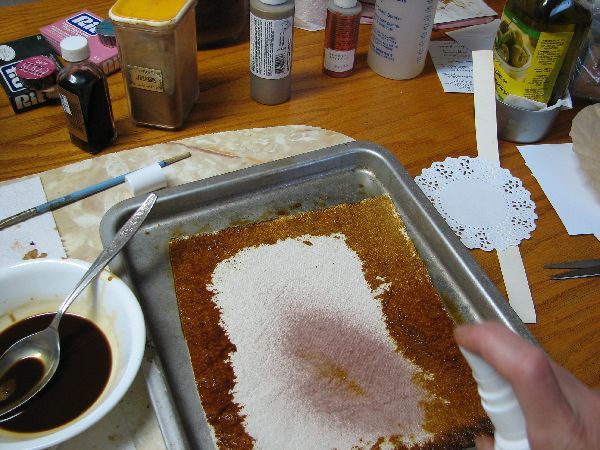
I like to use a spritzer bottle to mix and apply the liquid dyes.
The color I am using is a mauve pink shade and I have spritzed some onto a text page in the centre.
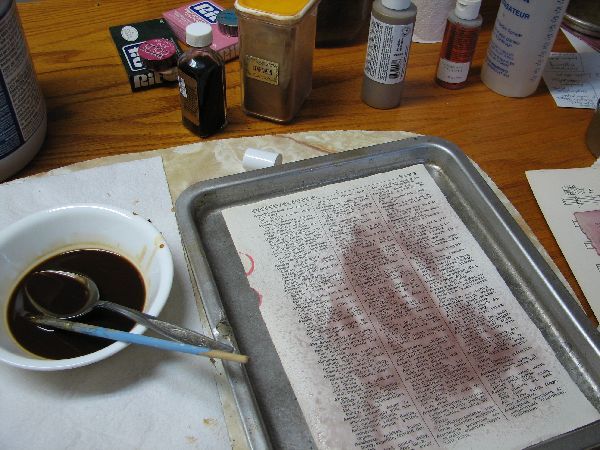
Because pink and brown combination is so popular right now, I am doing the outside edges with the coffee stain.
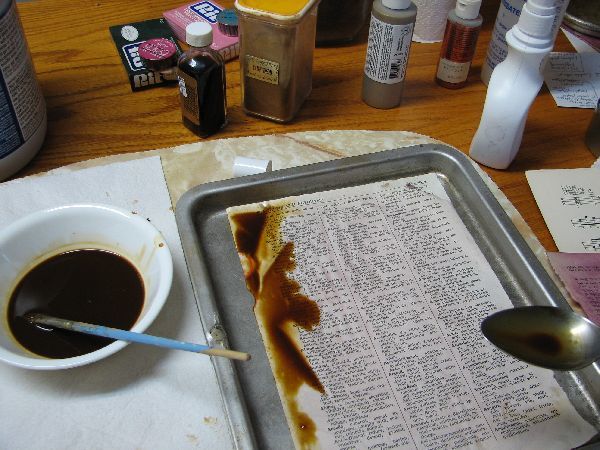
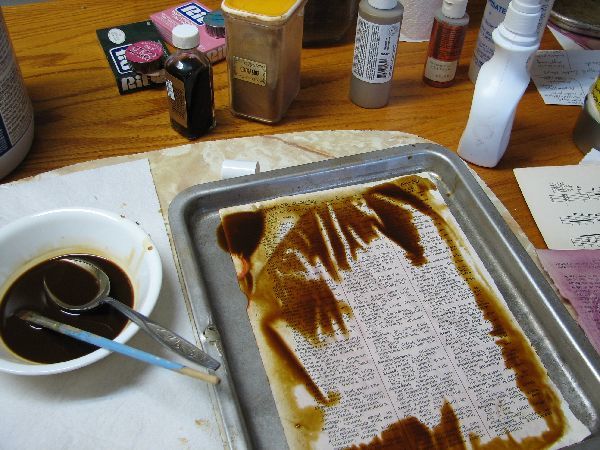
Because the paper is already wet in the centre from the pink dye, the coffee bleeds nicely into the other color. This piece is going to be a favorite to work with once it is dry.
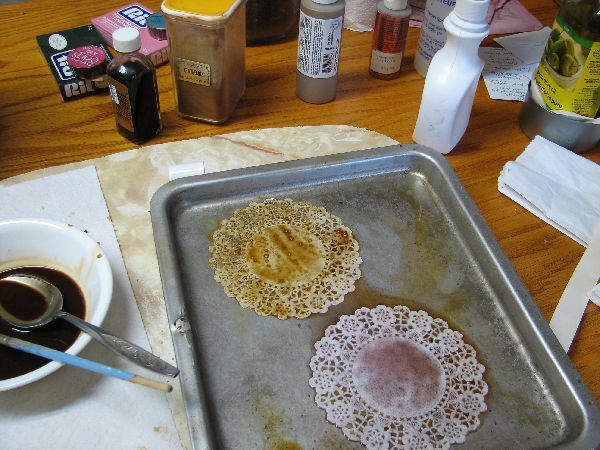
Here are some paper doilies stained with both the coffee and dye solutions.
You can purchase doilies at your local party or dollar stores for next
to nothing and stain them in lovely colors for vintage collage.
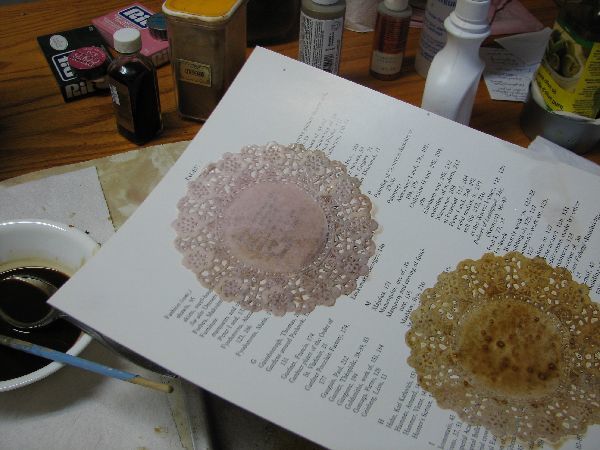
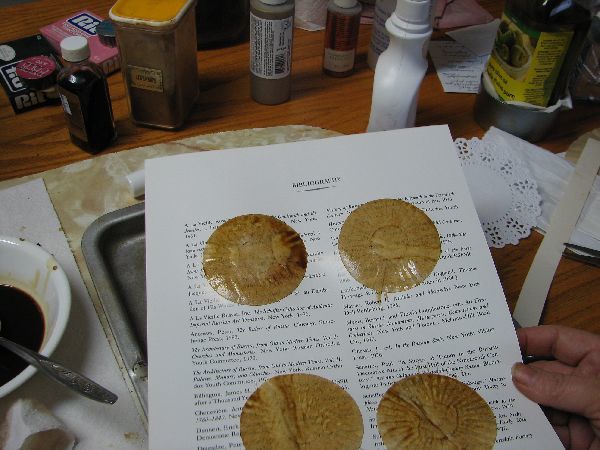
I have lay the doilies on another page to blot dry, don't leave too long
or they will stick to the paper. If they stick, run under water to
release.
The blotting paper is just another book I saved from the landfill. This
is a large book page so I use these over and over for my staining
projects, eventually they have such an assortment of stains that I then
use them for my art. It's a win win!
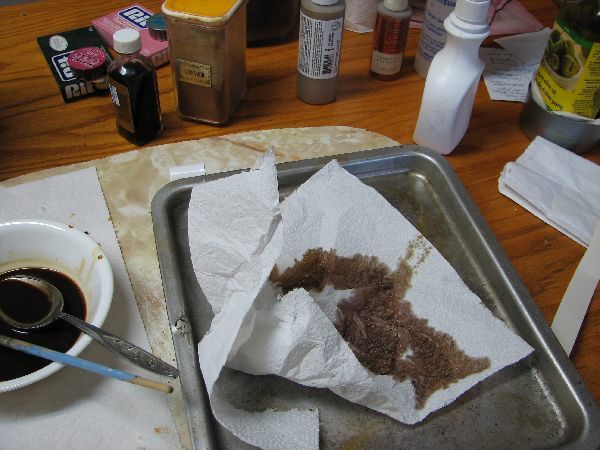
Here comes more paper towels for absorbing. This piece will have a combination of the 2 colors and again will be a favorite paper to work with.
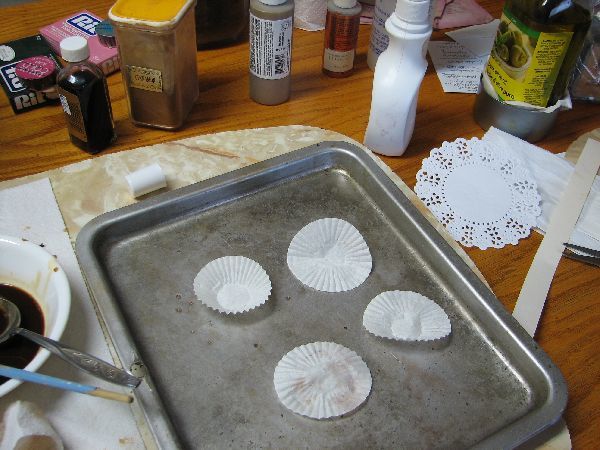
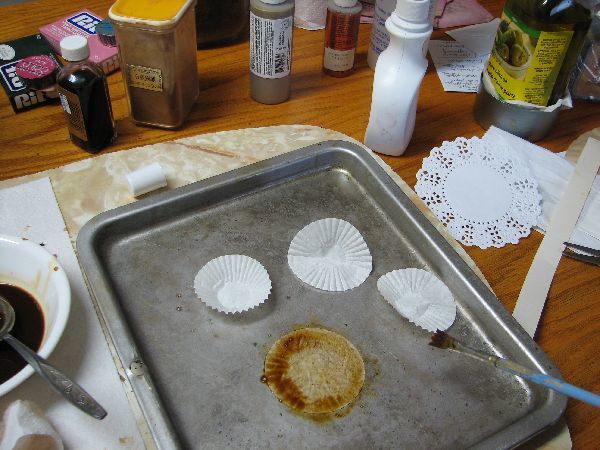
These little candy baking papers take very well to the staining. They are perfect size to frame a small picture within a collage.
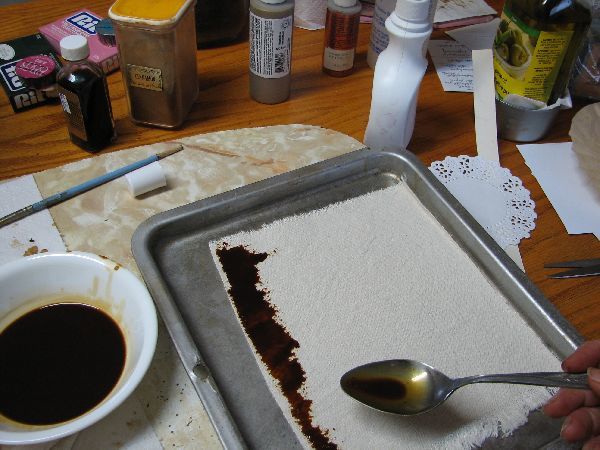
This next piece is a heavy piece of natural cotton fabric. I have
stained the edges with coffee, sprayed in the centre with the pink, then
spritzed with more water to move and blend the colors. Although it
doesn't look like much now, it is my 2nd most favorite piece in this
tutorial (yes there is a first favorite). This fabric will not only be
fun to work with on a project but hopefully it will scan well for paper
printing too. As it dried the color bleeding turned out beautiful.
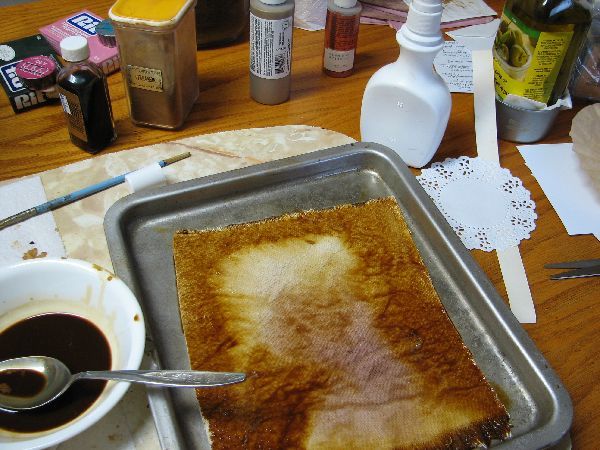
Coffee filters take very well to coffee and other liquid stains. Yes, I do recycle from the used ones. They are very durable papers even when wet. Often they will leave a slightly transparent look as an overlay to another collage paper.
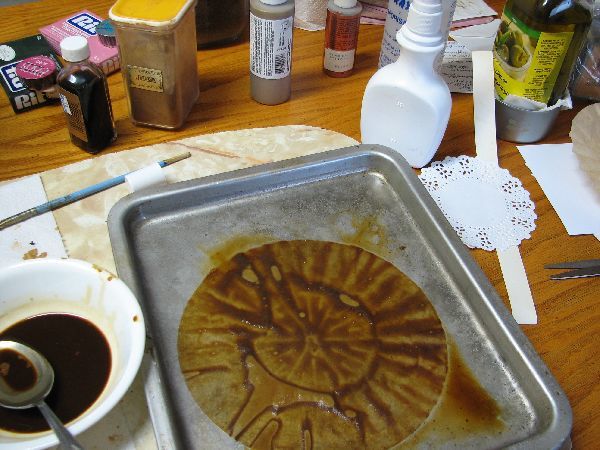
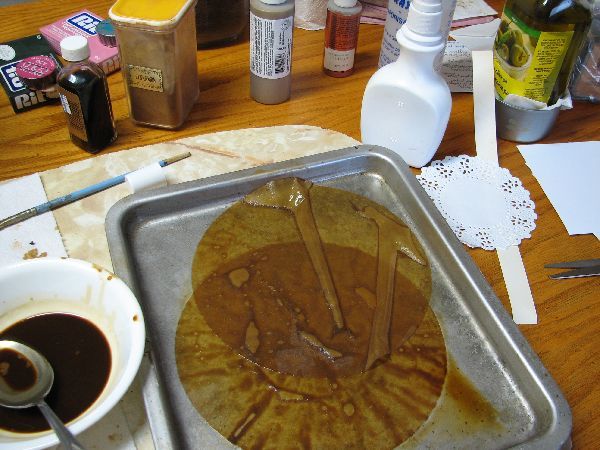
This is another style of coffee filter, these make great pockets in altered art books and today, after it is stained and sopping wet, it will serve another purpose as a coffee stain ink pad.

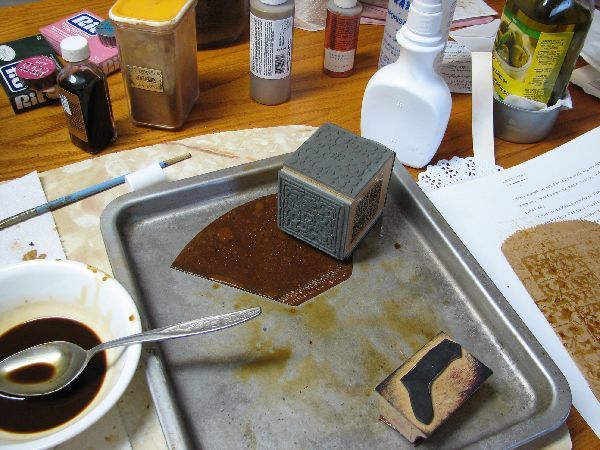
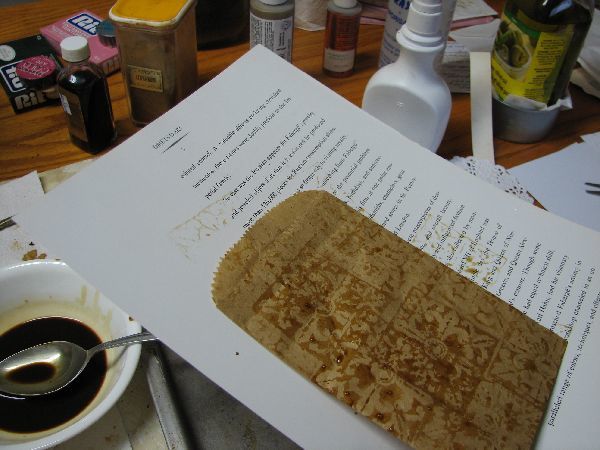
Here is a recycled paper bag that I have ink stamped using coffee. This will dry with the subtle stamp pattern, and a lovely scent. use as a gift bag, an add-on to your altered book projects or to store little tidbits of papers.
Here are a couple of envelopes waiting for stain. Notice that one is from some business reply mail. I save them and create some other use for these. The little envelope will be used in a book. I use the paper towel to stain the inside. Sometimes the glue of the envelopes will come loose and you may have to re-glue at the folds.
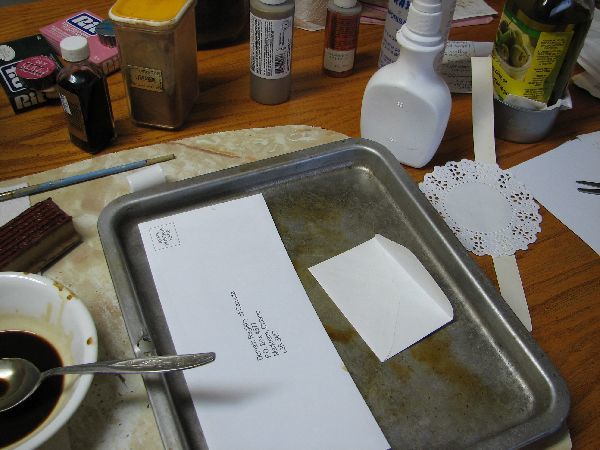
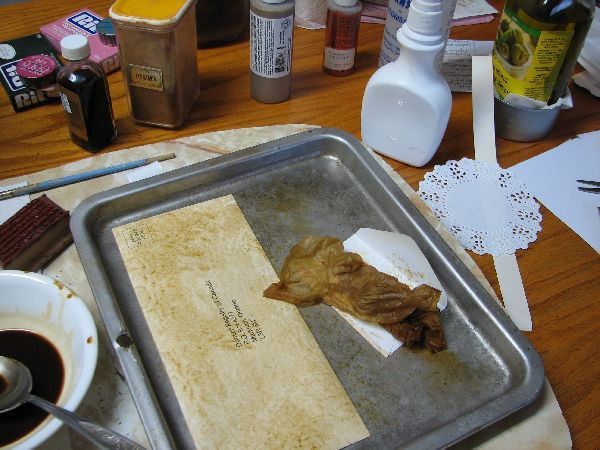
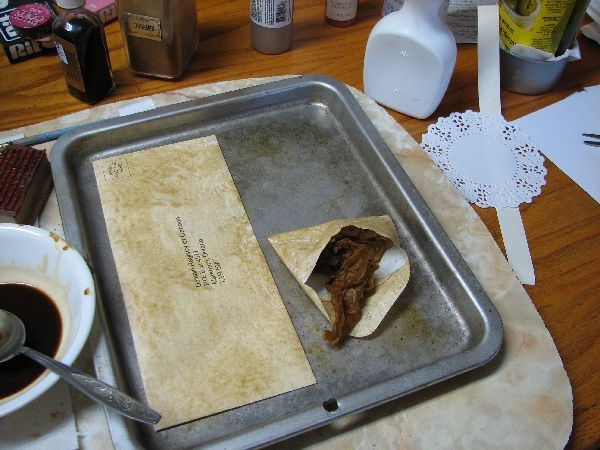
It's a good idea to prop the envelopes open or stuff some plastic inside so the sides won't stick together.

This next staining is done using teabags. I used the ones I already made my tea from so nothing gets wasted.
The teabag paper is strong like the coffee filters so I used it like a
sponge to apply any wetness to the papers. You can use a new one or add
boiling water and create a liquid stain. The colors are not as intense
as with coffee staining unless you let the item steep right in the tea
mixture for long periods.
Steeping lace, ribbon and small pieces of muslin works nicely with the tea.

Next I cut open a teabag while it was wet and took out the tea leaves.
Ideally you should wait until they are thoroughly dry. Trust me on this
one! LOL
Once the tea leaves are removed, and the paper is dry. These make
incredible and very durable little pockets for art books and collages.
They take well to additional ink staining and stamping.
Then sprinkle the tea leave in the soil of your houseplants. You will
make the plants happy too and have wonderful little art pockets to work
with!
Ohhh yes, and if your tea bag comes wrapped in lovely little paper
envelope packets, do save those for your art projects too! And don't
forget the little thumb paper string holder makes a great piece of
ephemera! ;)

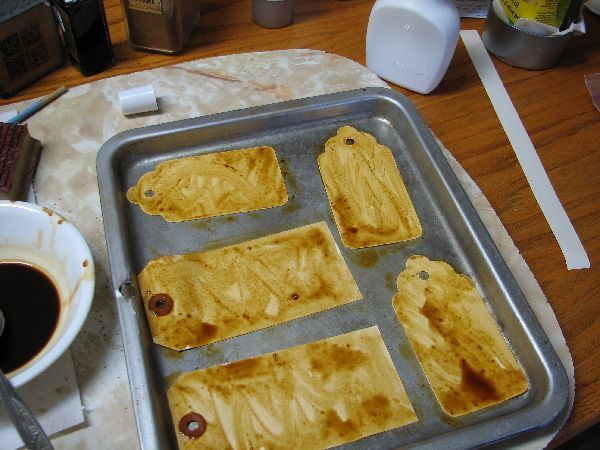
Going back to the coffee stain, I stained some shipping and hand made manilla tags. These will be stained and distressed even more with inks for a future project.

This is part 2 of 3 staining and distressing.
Part 1
Part 2
Part 3
You may feel free to print this tutorial for your own personal use,
however this tutorial and the accompanying photography is copyright Kim
Newberg 2008 and may not be reproduced in whole or part for publishing,
teaching or web usage without prior written permission and consent.
No comments:
Post a Comment