
Row House Art Card Display Holder Tutorial by Kim Newberg

HI Everyone,
Well finally I had some time to sit down and play a little. Lately that doesn't seem to happen much at all so it was extra fun and the results were fast and for a change it was a project that I get to keep for myself.
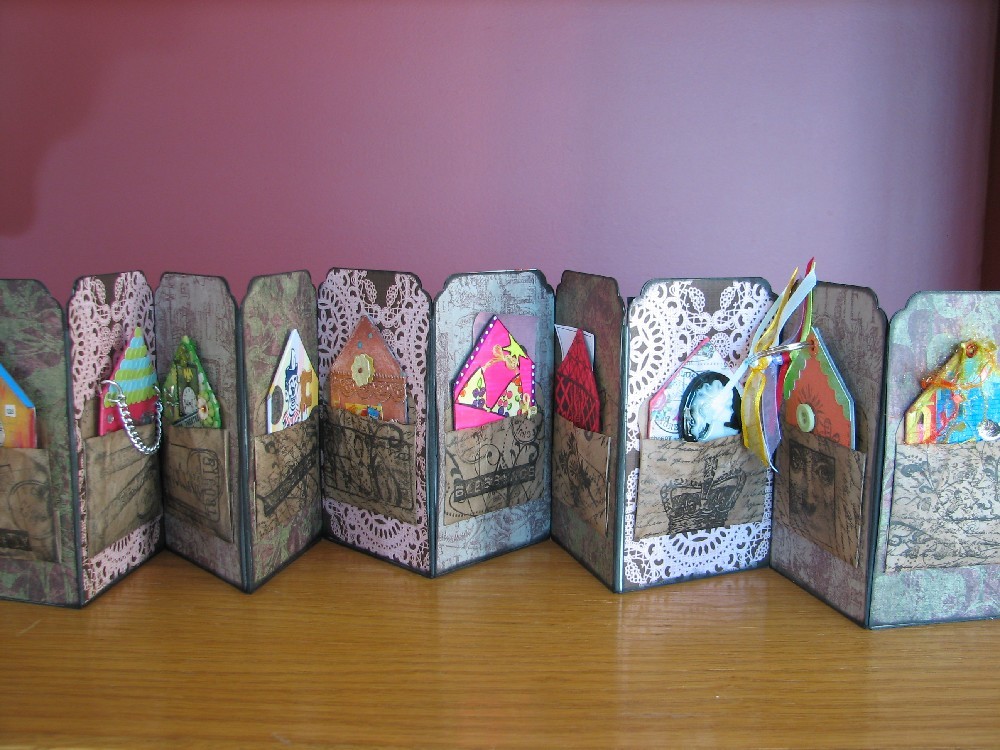
Here are some pictures of the finished Row House Holder. I am sure some of you are familiar with doing other projects in an accordion style but for those that are new to this art form, this is a great way to get started.

I haven't given all the details but I have created step by step pictures and I will give you some basic instructions on how I created it.
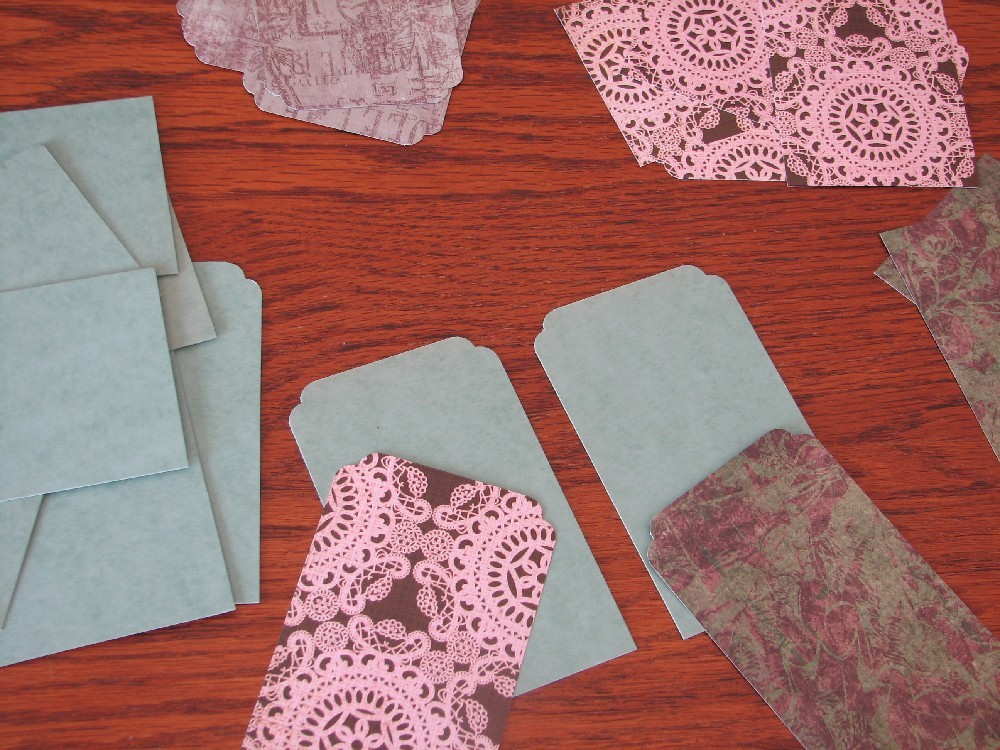
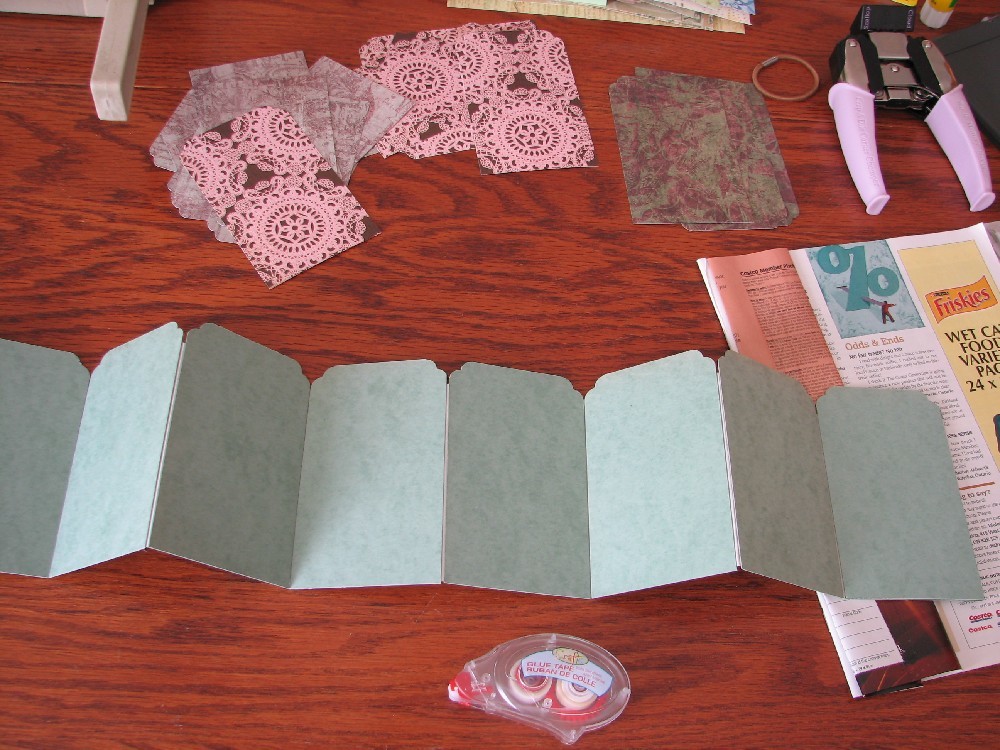
I started with 10 pieces of heavy chipboard. I actually had some nice green file folders that were a very nice weight so I used those instead.
Any type of chip board, or mat board will work fine. The 10 chipboard pieces measure 5 inches x 3 inches.
10 pieces = 20 sides, so then I chose 20 pieces of design papers to cover the board. I chose colors that are complimentary to my home.
10 pieces = 20 sides, so then I chose 20 pieces of design papers to cover the board. I chose colors that are complimentary to my home.
These holders can easily be created in other sizes to accommodate different art cards.
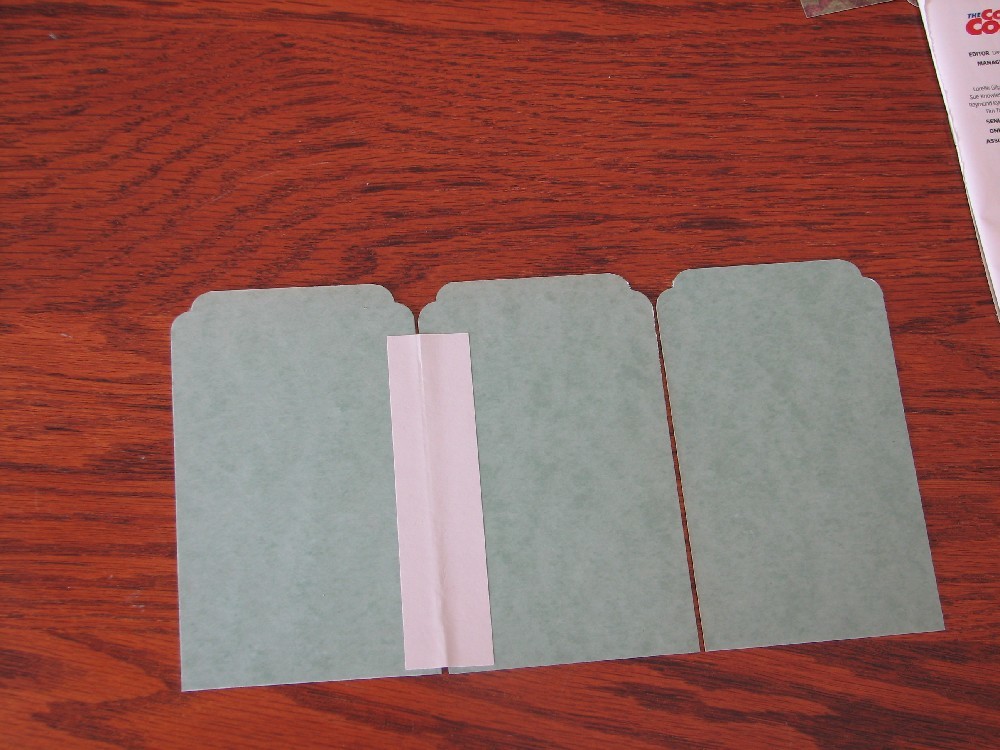
The last item is some 1 inch strips of paper to join the pieces together. They are approx 4.5 inches long and one inch wide. If you take a standard letter page cut it in half the long way and then cut up your strips.
The last item is some 1 inch strips of paper to join the pieces together. They are approx 4.5 inches long and one inch wide. If you take a standard letter page cut it in half the long way and then cut up your strips.
Or use any kind of scrap papers as you like.

Then I cut the top corners of all the pieces with a decorative punch. For those of you that know me, you know that I could be a poster child for Crop-A-Dial punches. Why? because they cut through just about anything. I now have several of their punches in my collection with no intention of stopping this new collection.
My favorite is of course the hole punch/eyelet rivet setter. I punch holes through tin like I am spreading butter with a butter knife. For this project I used the decorative corner chomp punch. What a fabulous tool for creating fancy edge corners and it still amazes me that it cuts through mat board and chipboard with almost no effort.
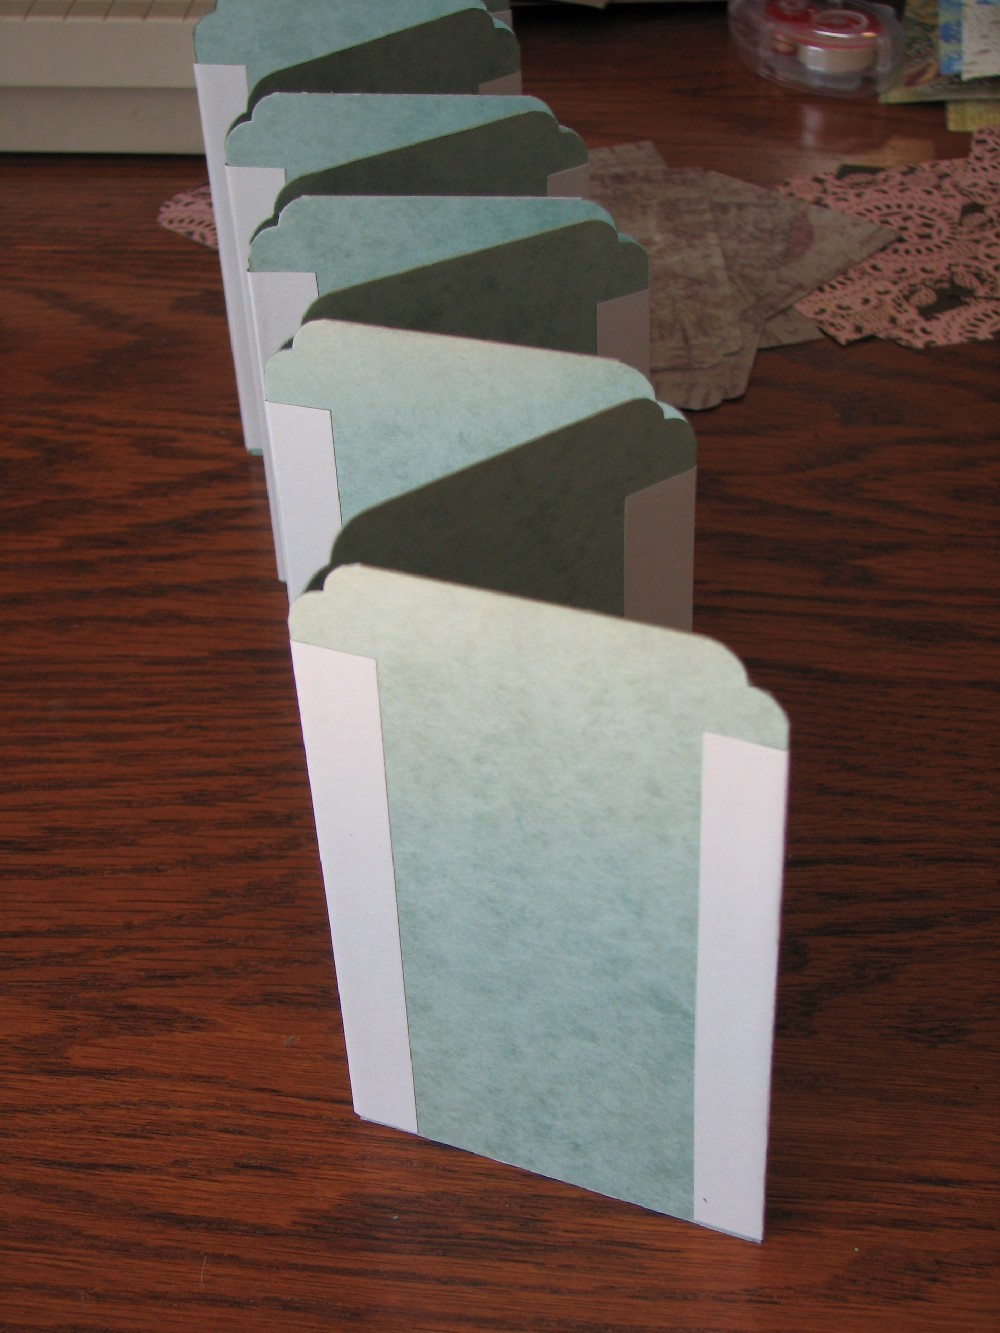
Now using the paper strips I am starting to glue the pieces together to create an accordion style display.
If you look closely at the photos below you can see I am leaving a slight space between each piece as I glue the paper down. Also check each one after you have glued it to be sure it is standing straight and folds nicely against the previous piece. Better to check now than find out later that something is crooked!!!
If you look closely at the photos below you can see I am leaving a slight space between each piece as I glue the paper down. Also check each one after you have glued it to be sure it is standing straight and folds nicely against the previous piece. Better to check now than find out later that something is crooked!!!
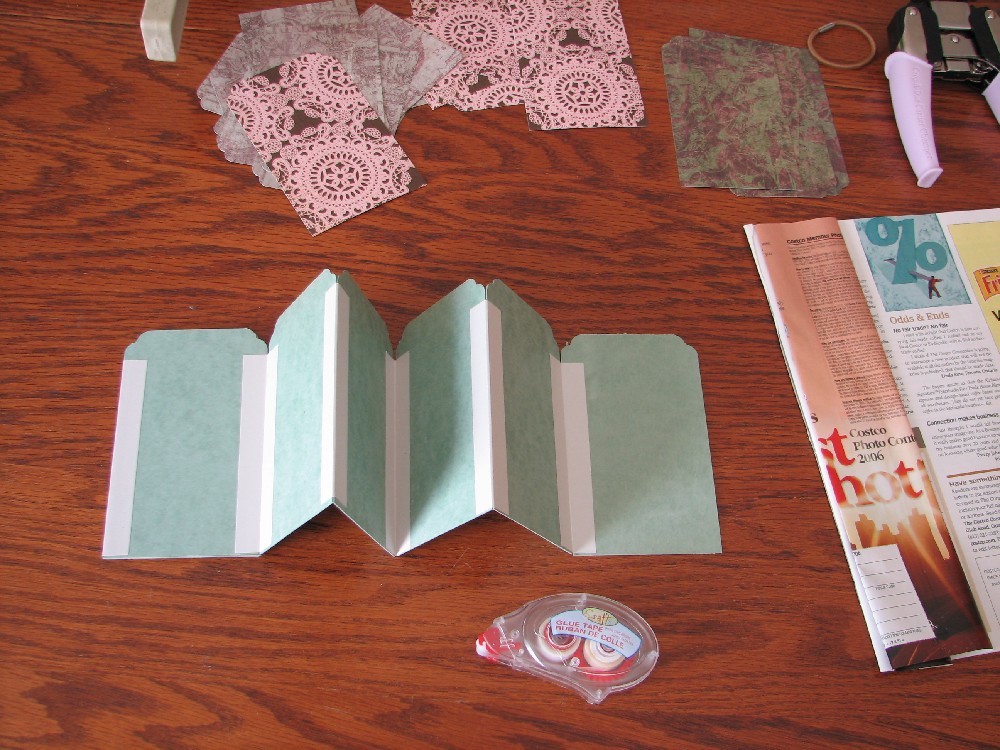
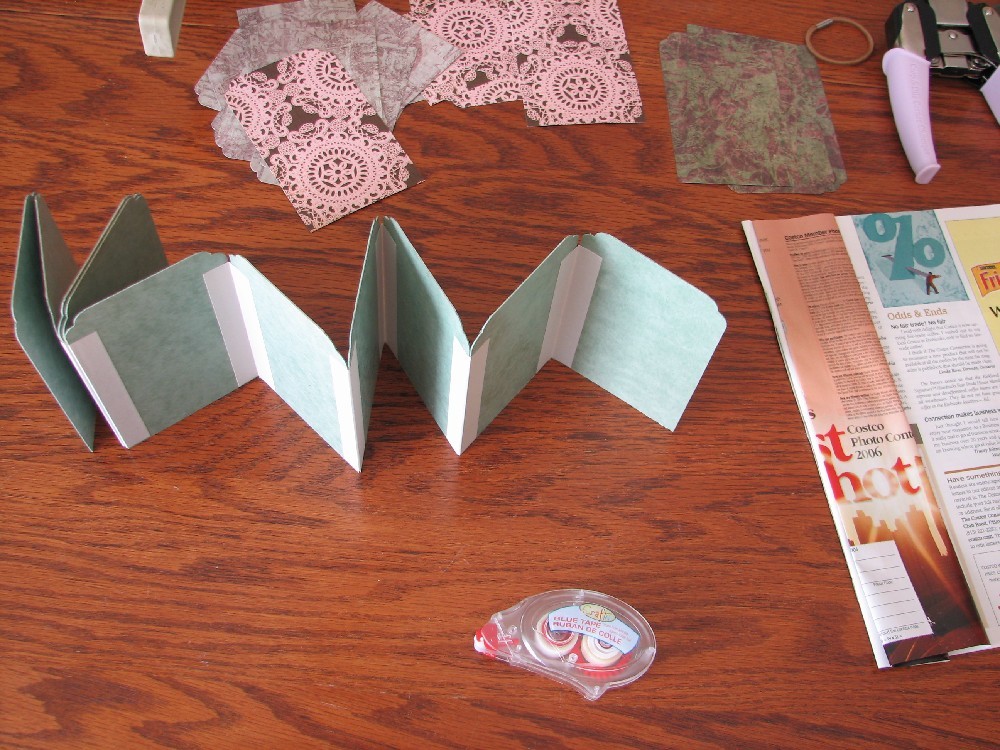
Now that they are all together, flip it over and do the same to the other side. To glue the paper strips, I used a glue tape from the dollar store. This made this part of the project quick and easy.
I added paper strips on each end piece. Even though it isn't connecting to another, it just gives a little extra stability because the end pieces that will be handled the most.

Using an ink color of your choice, ink stain the edges inside and out of all of the accordion folds. This will insure that the ugly edges will not show.

Next comes the decorative papers. I didn't show a step by step on this part because it is just gluing the pieces over the mat board. Check each piece before gluing, you may have one that doesn't fit perfect and needs a little trimming. I actually cut my pieces a little bit smaller and then ink stained around the edges to cover up any ugly edges showing through. You could also use paints or glitter to cover up any flaws too!
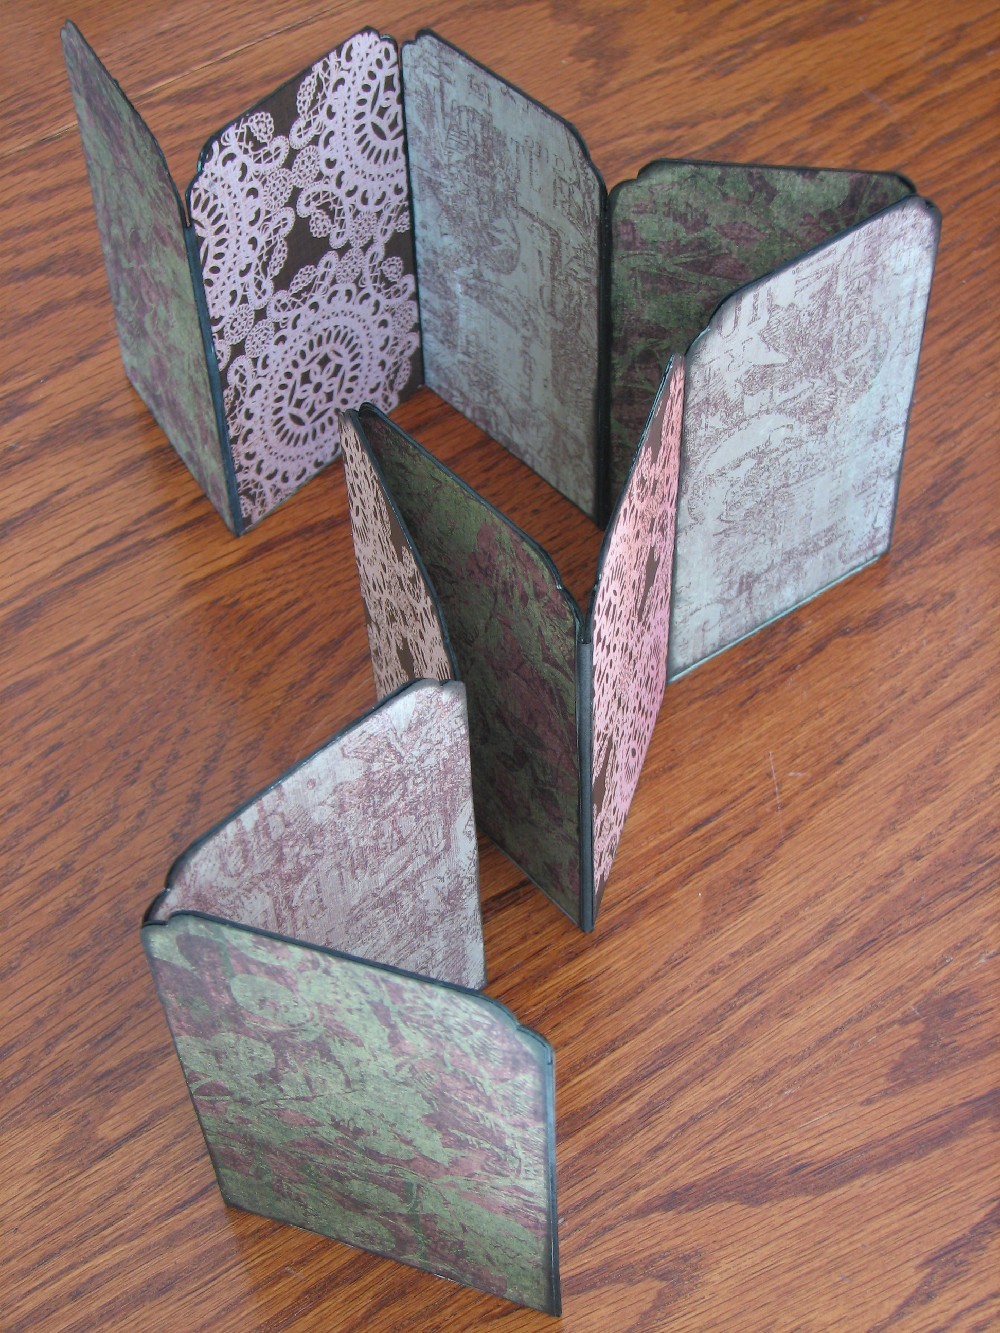
Here we are! Design papers are on! If you noticed, the bottom of each piece still needs to be inked. That's because I am working on my dining table right now and didn't want to clean up ink stains. I will ink all at the end and let it thoroughly dry upside down.
Now for the holder pockets. I printed many copies of the holder template so that I would be able to cut them out and decorate. But the template could also be photo copied and printed onto the back side of decorative papers and then cut out but you would need to use 2 sided paper so you don't have a plain white piece when folded up.
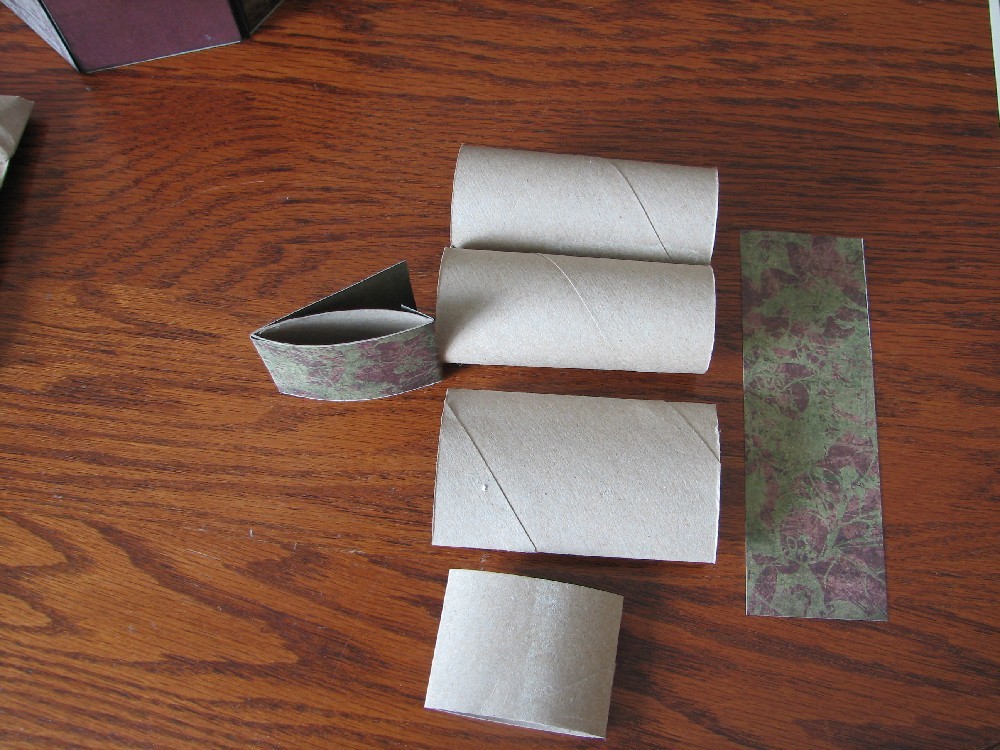
Then I decided instead to use the template as just that, a template and then hand traced onto some brown paper bags. I love to recycle, and brown paper bags love to be inked and painted! It is entirely up to you as to what you make the pockets from. Even toilet paper rolls cut in half are the perfect size for the 2 inch row houses, and coin rollers cut in half are fabulous for the inchie row houses.

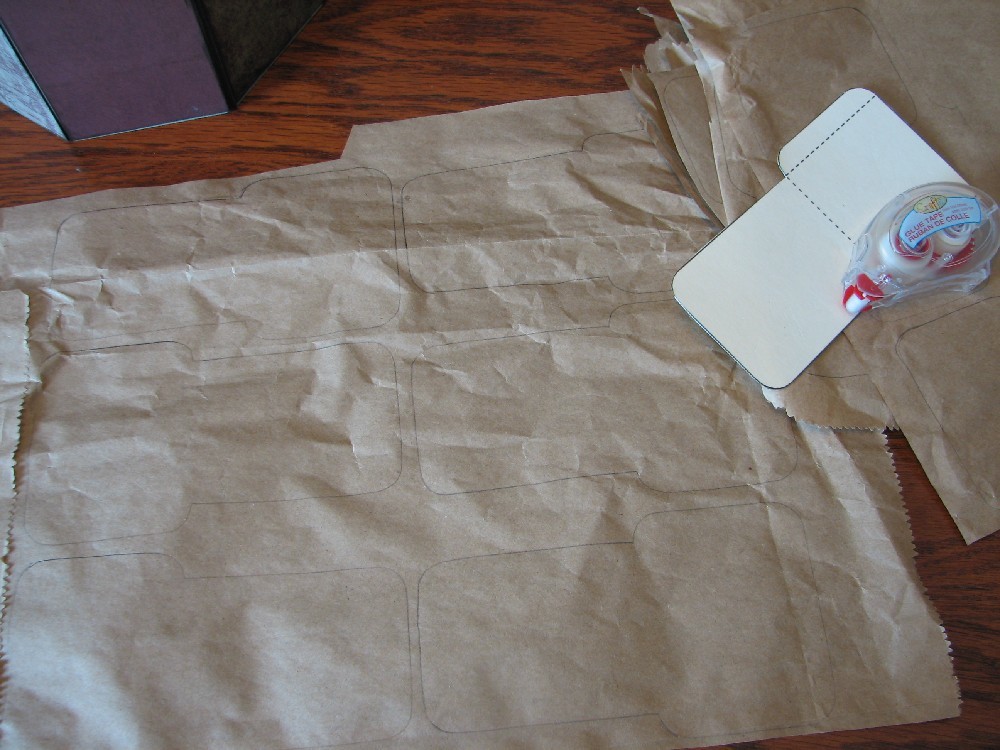
I didnt worry about the wrinkles in the brown paper bag, in fact when all were traced, cut out, and inked I then crumpled the papers even more so that the wrinkles would take the stain and distressing.
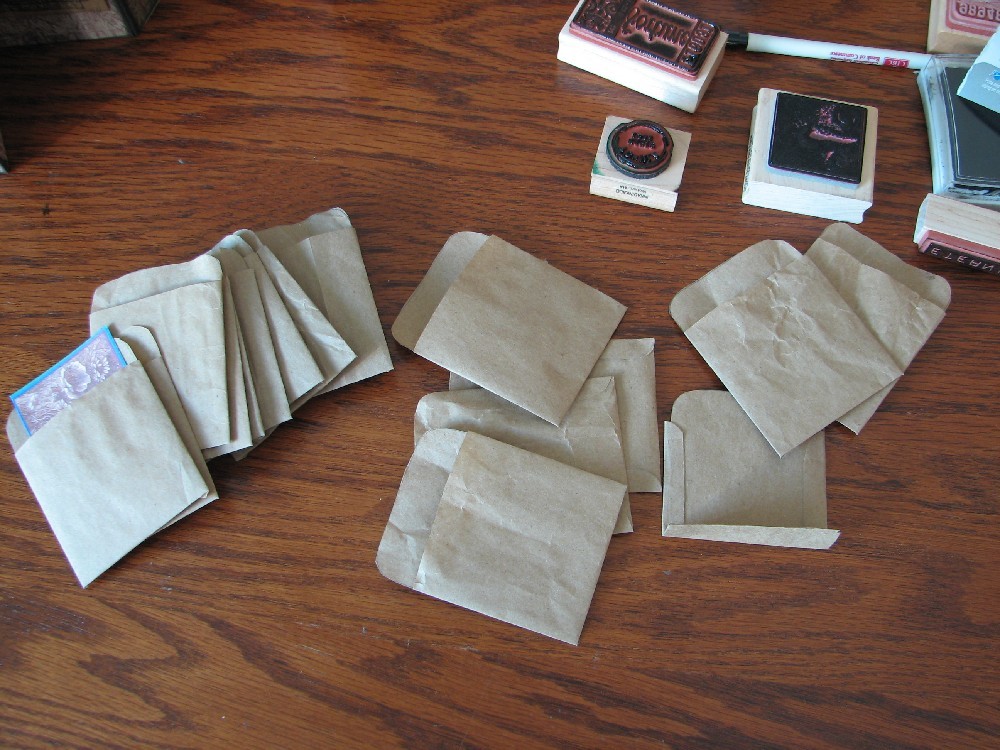
I need 20 pockets (10 for each side). It sounds like alot, but in all it took me about 20 minutes to trace and cut them out. Then I folded and glued the sides.
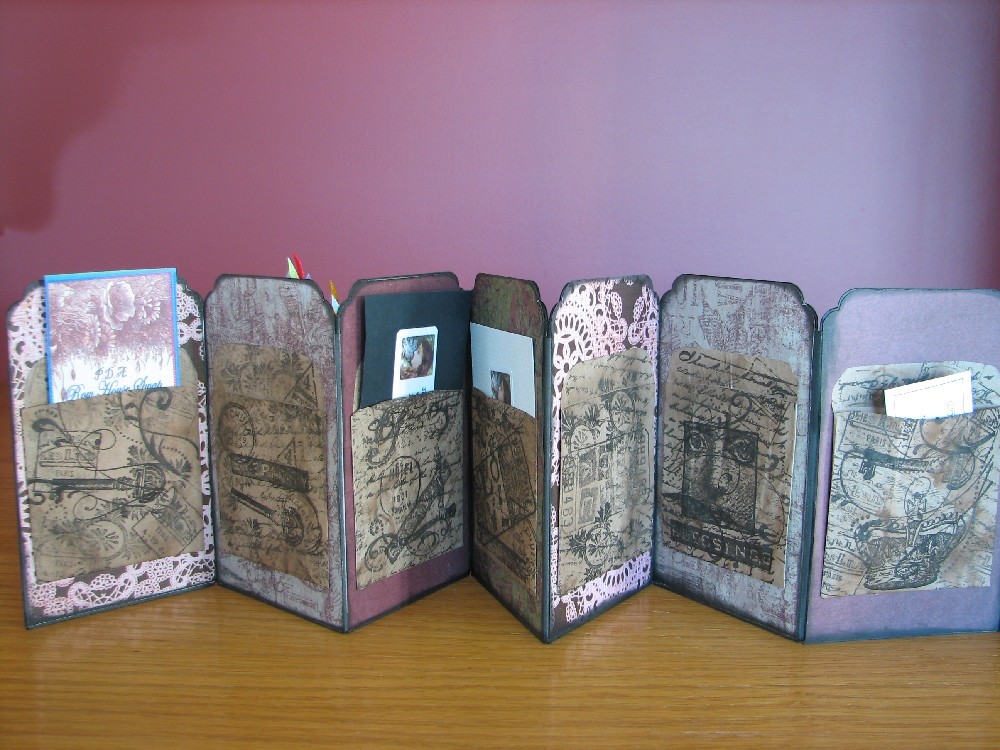
You may notice (soon) in the pics that some pockets are shorter than others. That is because after I folded and glued the pockets I then folded the back up another inch and glued so that I had 10 short ones and ten full size. The 10 short pockets are for the front of the display holder to hold the row house cards, and the 10 full size pockets are for the back side of the display to hold the artist info cards that some artists send with their work as well as little notes and sometimes I receive cute little tags and tidbits from other arists.
At the end you will see the back side of the display. Not all the pockets are used but that is okay. Maybe somehow along the way I could trade for a few more houses?
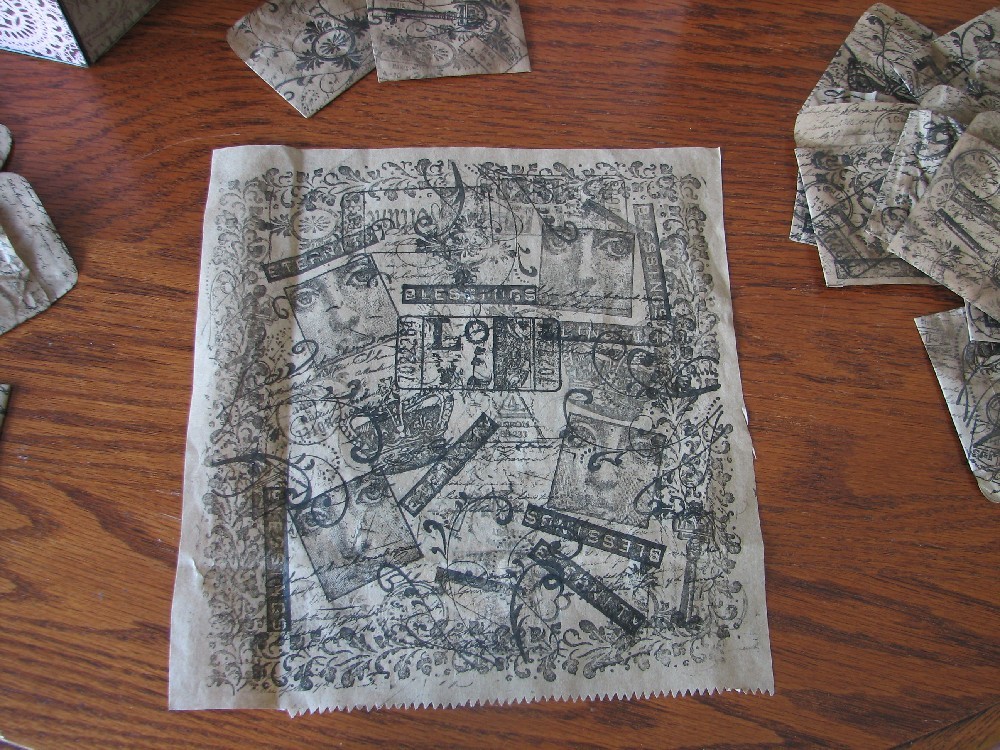
Then I got out the rubber stamps and the ink and became an erratically insane stamper. I have a huge collection of rubber stamps and really don't use them very often. I find that most times I get tired of a stamp after I have used it once or twice but yet the need for more is always there. They do look nice on my shelf!
I really wanted something that looked distressed and chaotic so I just stamped all over the place. When I was done I cleaned my stamps off by stamping on the very paper I used as a work surface. Hmm what to do with this fun piece of paper?
You can see that I crumpled the envelopes more, and then I distressed even further with some brown ink in spots to give an aged burnt look. Again, notice the 2 sizes for front and back of the display.


Next I glued the holders onto the display using a UHU glue stick (sorry but the glue tape doesn't work well for this part of the project)
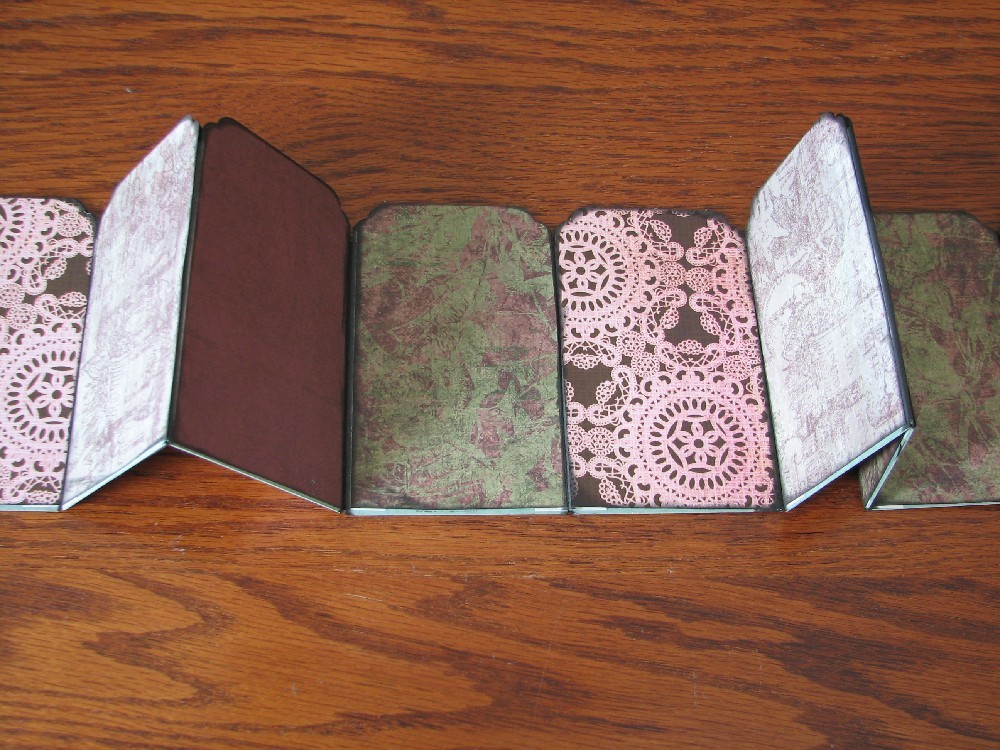
Below you will see images of the front and back of the display completely finished. Though after reviewing the images I did see a spot that need some inking I had missed. I will still embellish some along the tops of each panel, I just want to think about it for awhile to decide what I want to do.
The pockets still hide the finished art inside. I personally like the touch and feel factor as well as the element of surprise when I take each piece out and look at it again and again.
However, you could also make these pockets from vellum or clear acetate to show off the art even more.
I hope you have enjoyed this tutorial and that I have inspired you in some small way to create your own display holder.
Please do share if you create your own!
No comments:
Post a Comment
Note: Only a member of this blog may post a comment.